⚡️ Automate reporting with Amalia API and Zapier
This guide helps you set up Amalia API on Zapier. You will be able to export Amalia calculations such as statement results, KPIs, payments, etc. on any trigger to any software with a Zapier integration.
What's Zapier?

Zapier is a no-code tool that lets you automate workflows between various softwares with minimum technical knowledge.
A basic workflow consists of two parts:
- A trigger: A user-defined event to jump start another event.
- An action: A user-defined event that takes place when a related trigger is fired.
You can think of Zapier as a highly customizable adaptor that lets you access Amalia API and export Amalia data to any software with an integration to Zapier. For more information on Zapier and available integrations, please consult their website and help center.
1. Get your API key and report url ready
Please refer to this help doc if this is your first time using Amalia API.
You will need:
- Report url, a link that helps us identify the report you want to access
- API key, a private token that helps us authenticate your identity
X-API-KEY, the header where you will enter your API key
2. Create a zap
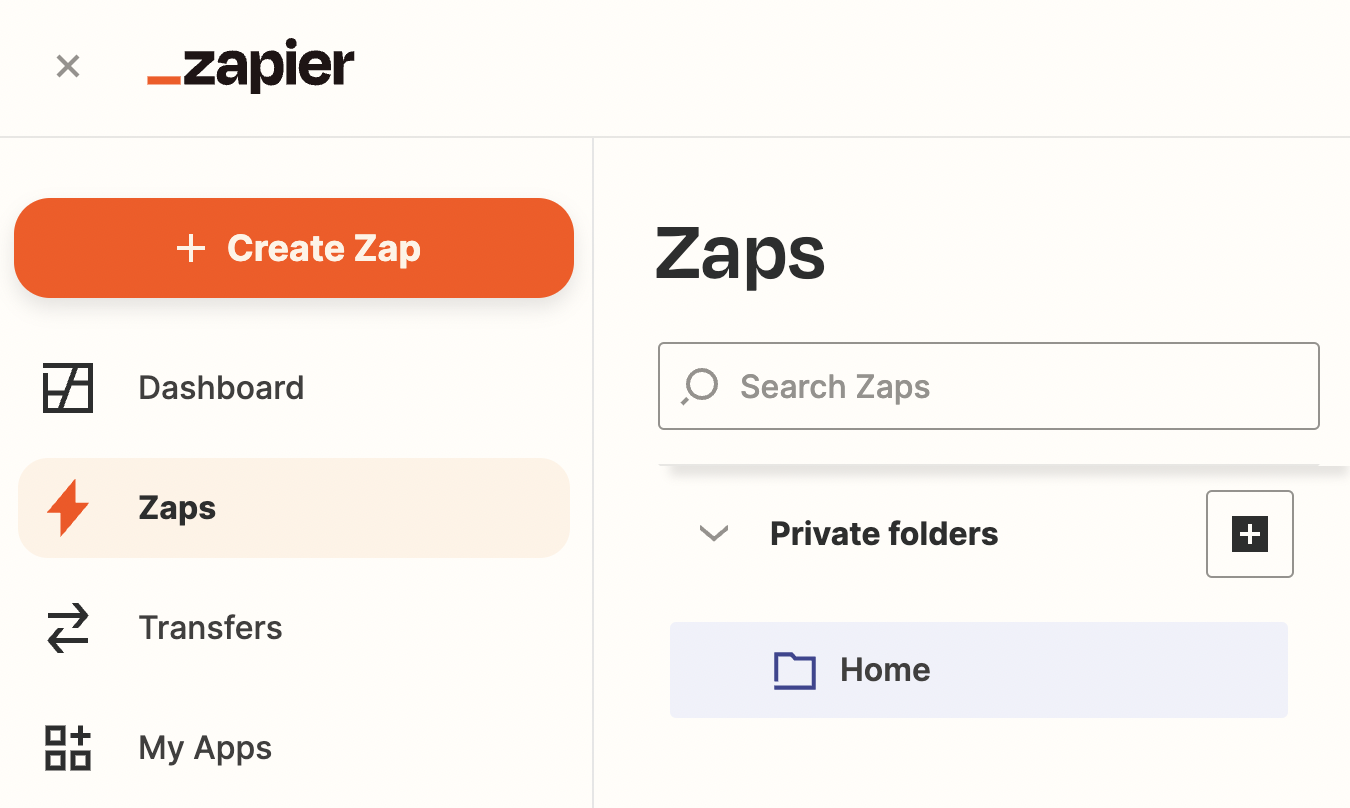
After logging in or creating an account on Zapier, you can start by creating a new zap.
3. Set up a trigger event
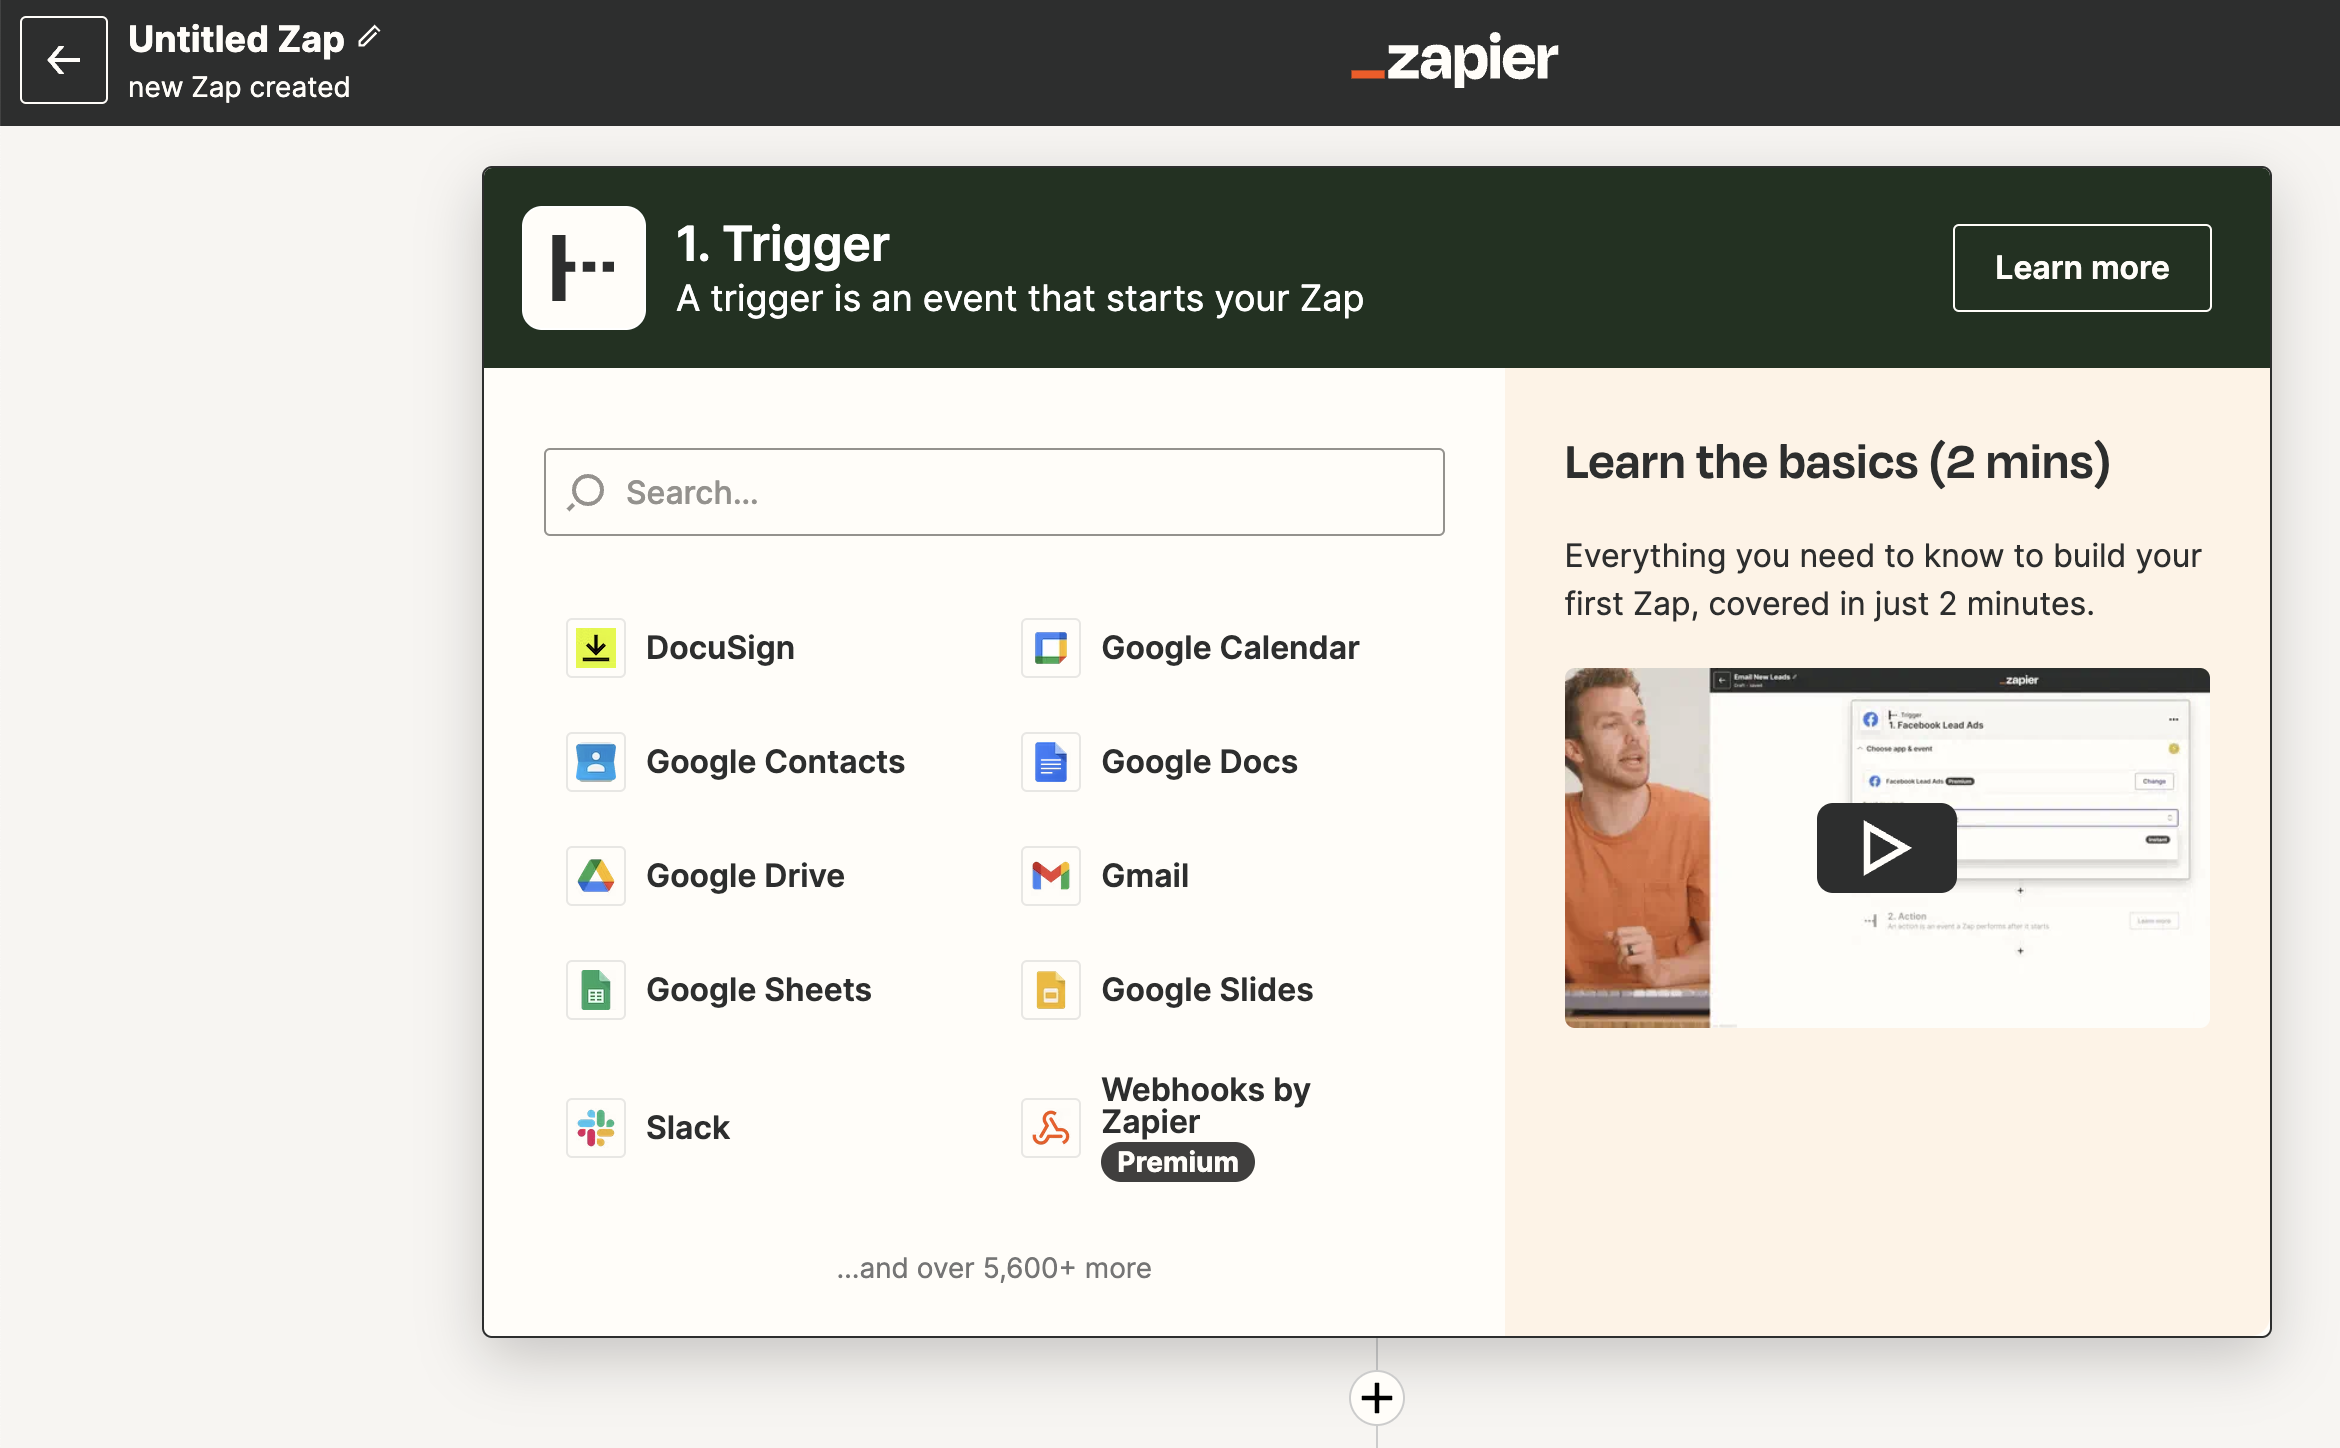
You are now on the configuration page of your new zap. Here you may name your zap and set up the trigger event for your zap.
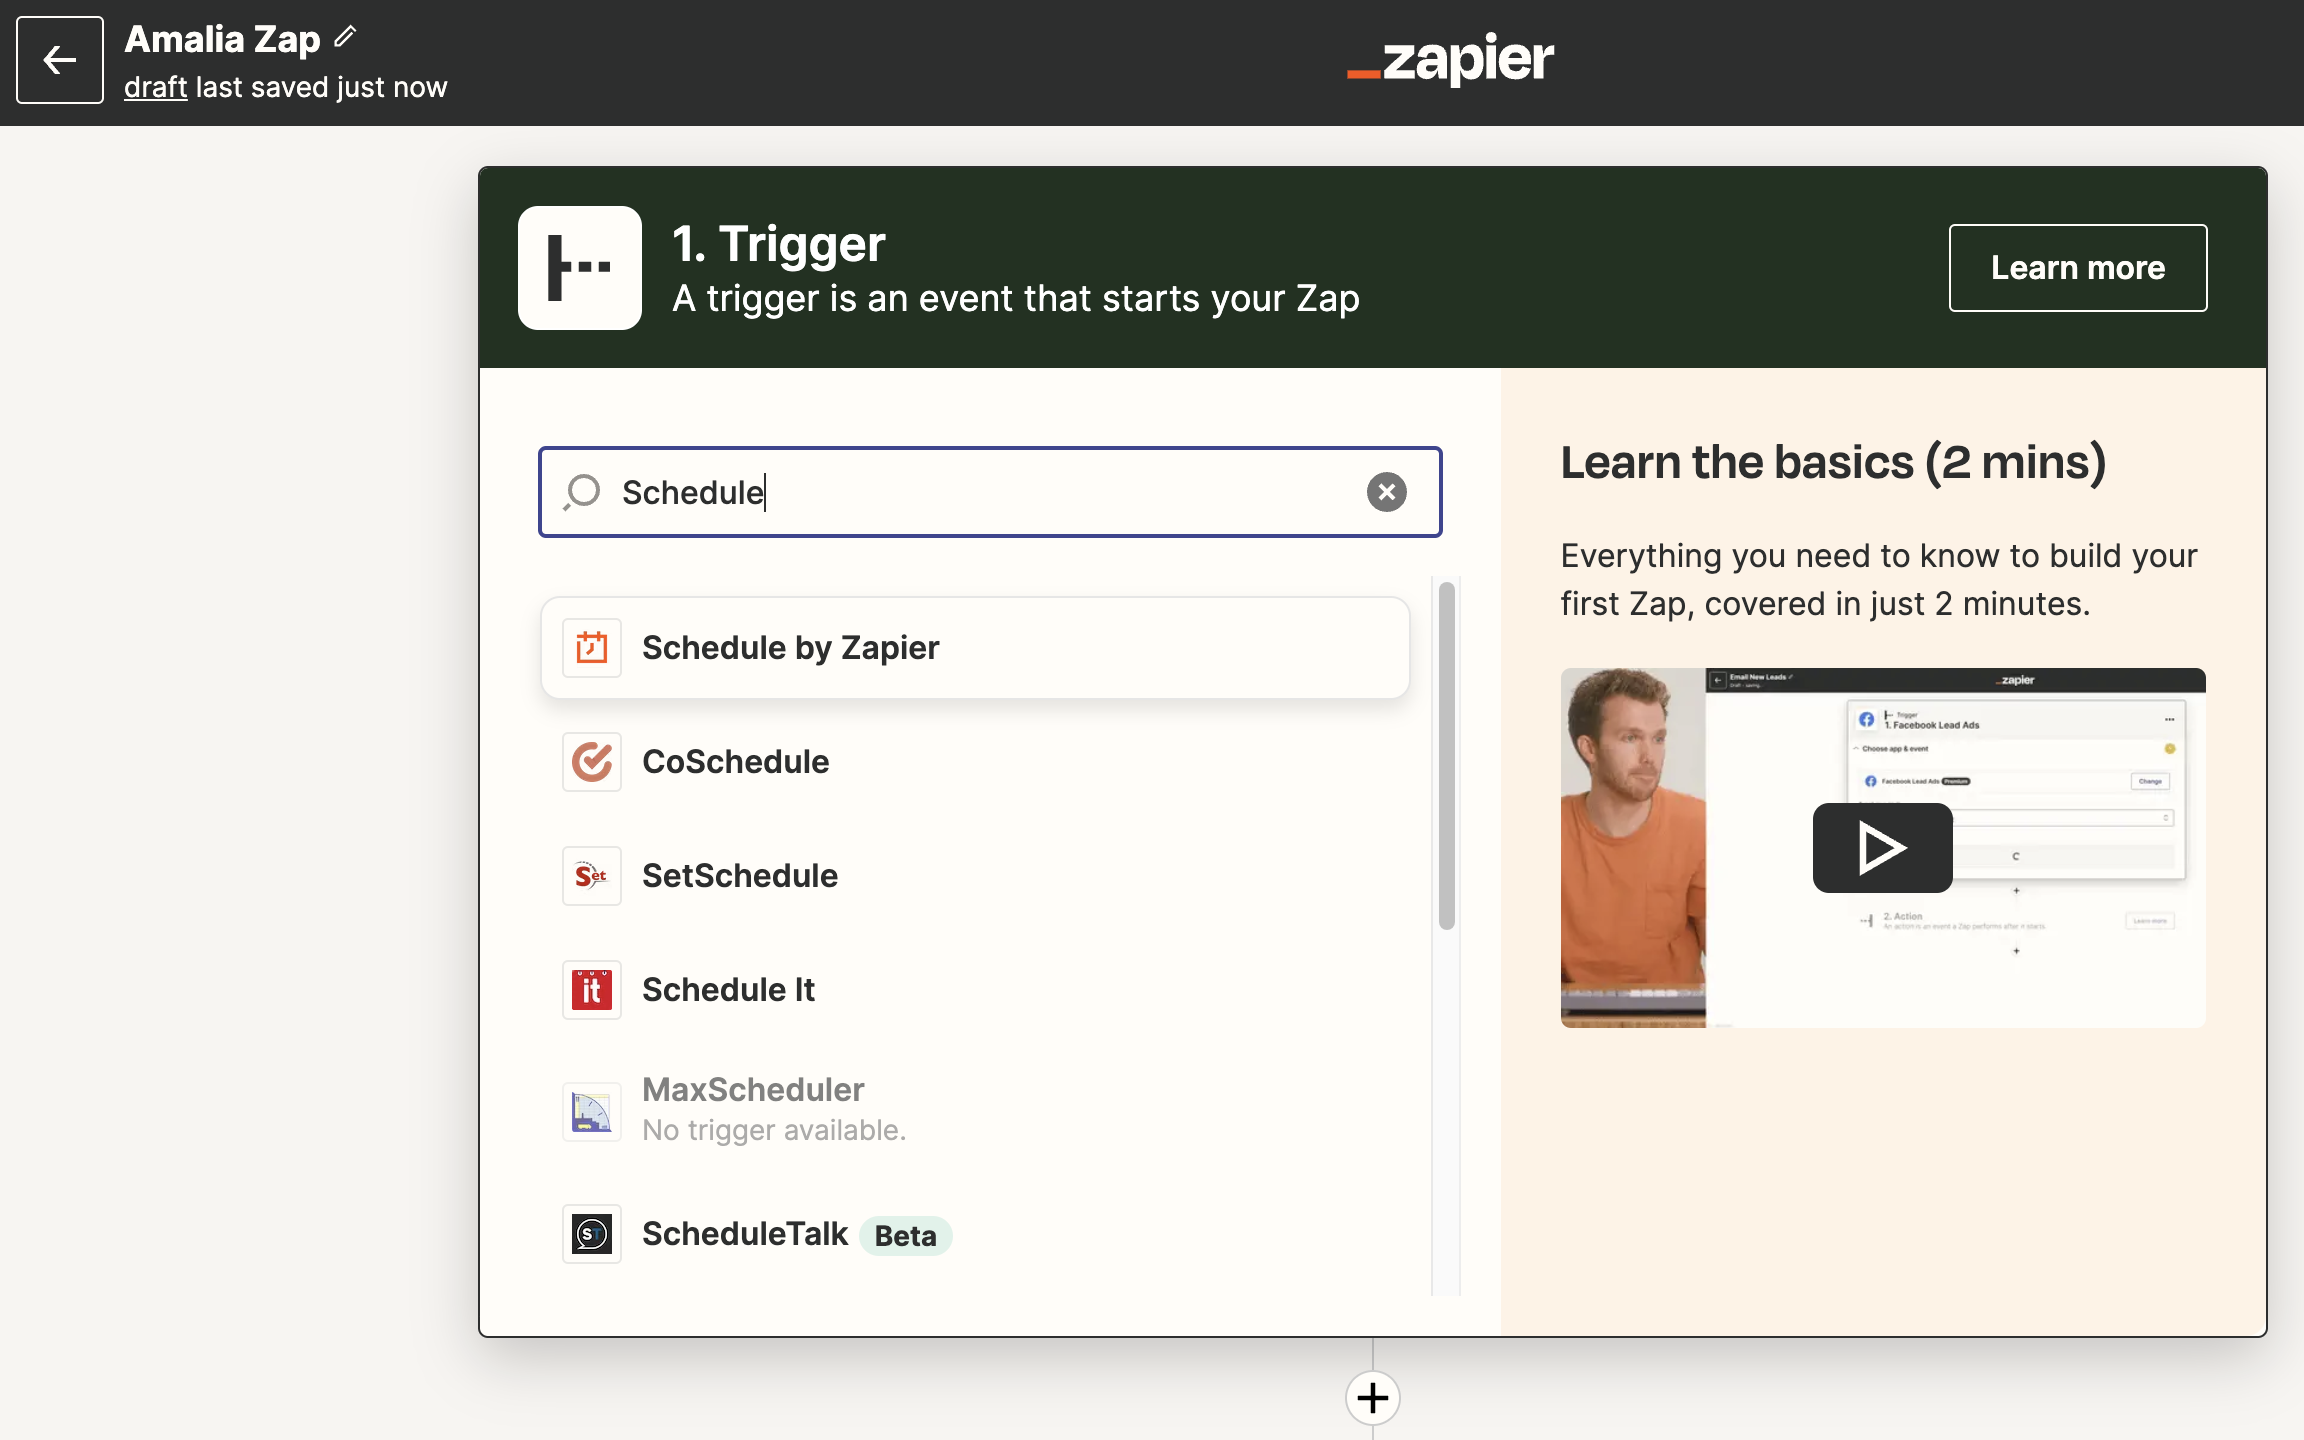
In our example we would like to do a weekly export of Amalia calculations. Look for "Schedule by Zapier" using the search bar.
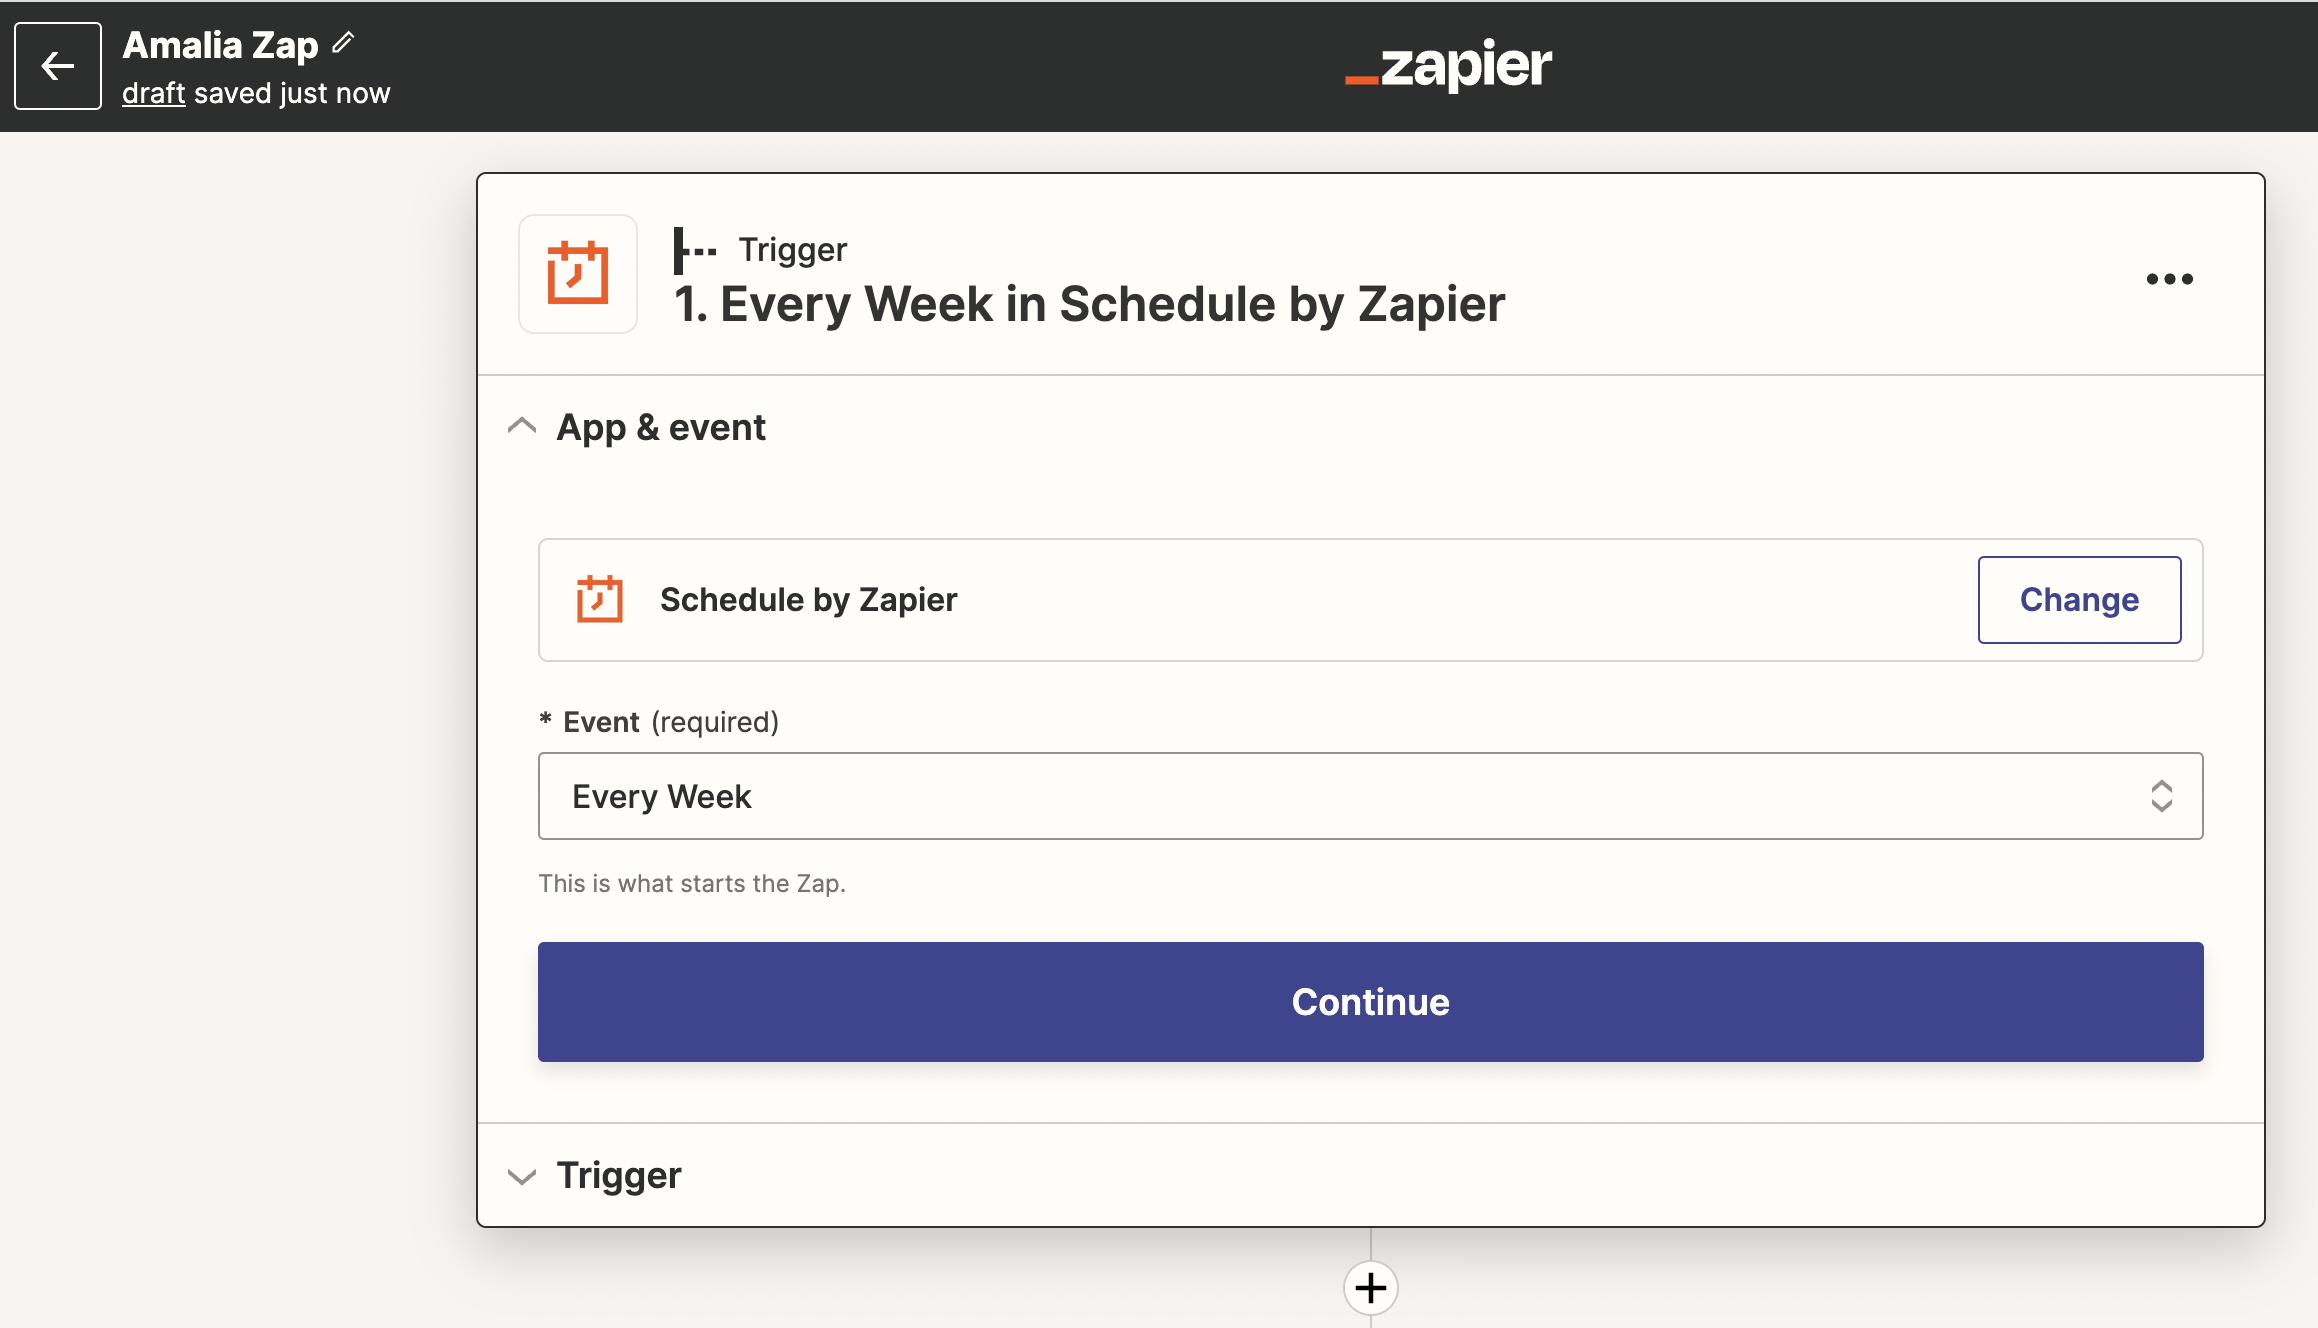
For our event, we choose "Every Week" to have Zapier trigger the zap weekly.
Zapier's scheduler lets you configure custom timing for the zap. Let's make sure our Amalia directory is updated to a Google Sheet first thing every Monday morning.
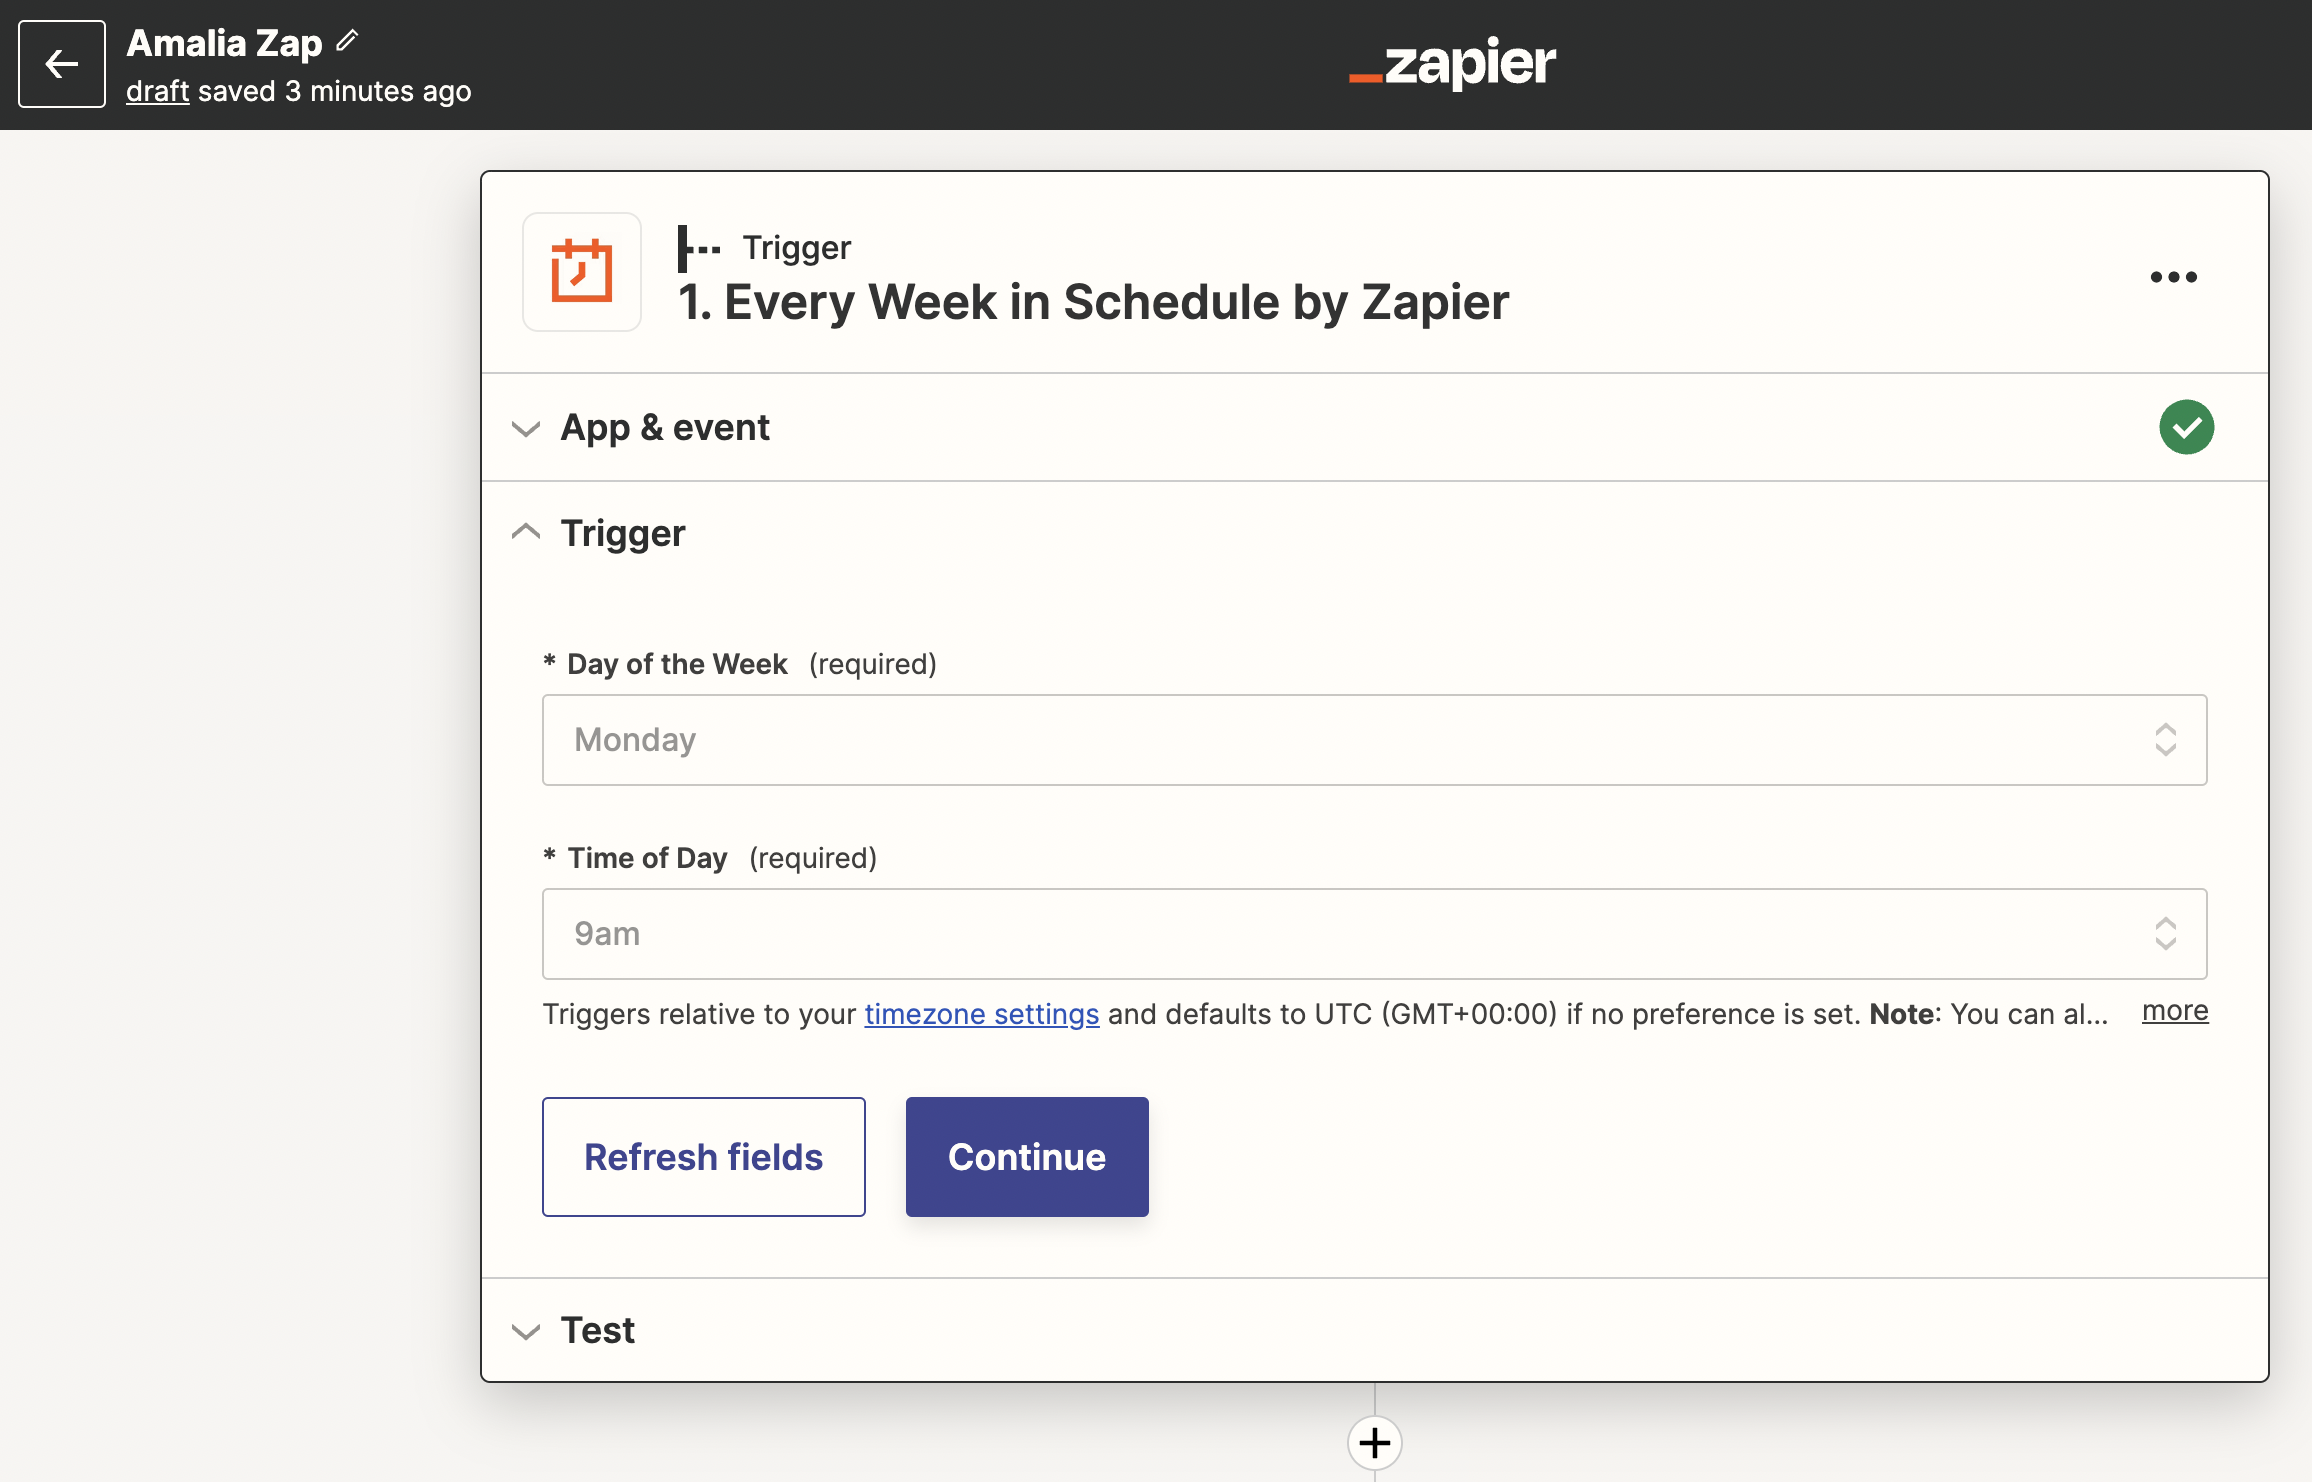
Zapier lets you test each step in a zap's configuration to make sure things are working correctly. We see a green check for our trigger event and are ready to move on!
4. Set up an action event to retrieve Amalia data
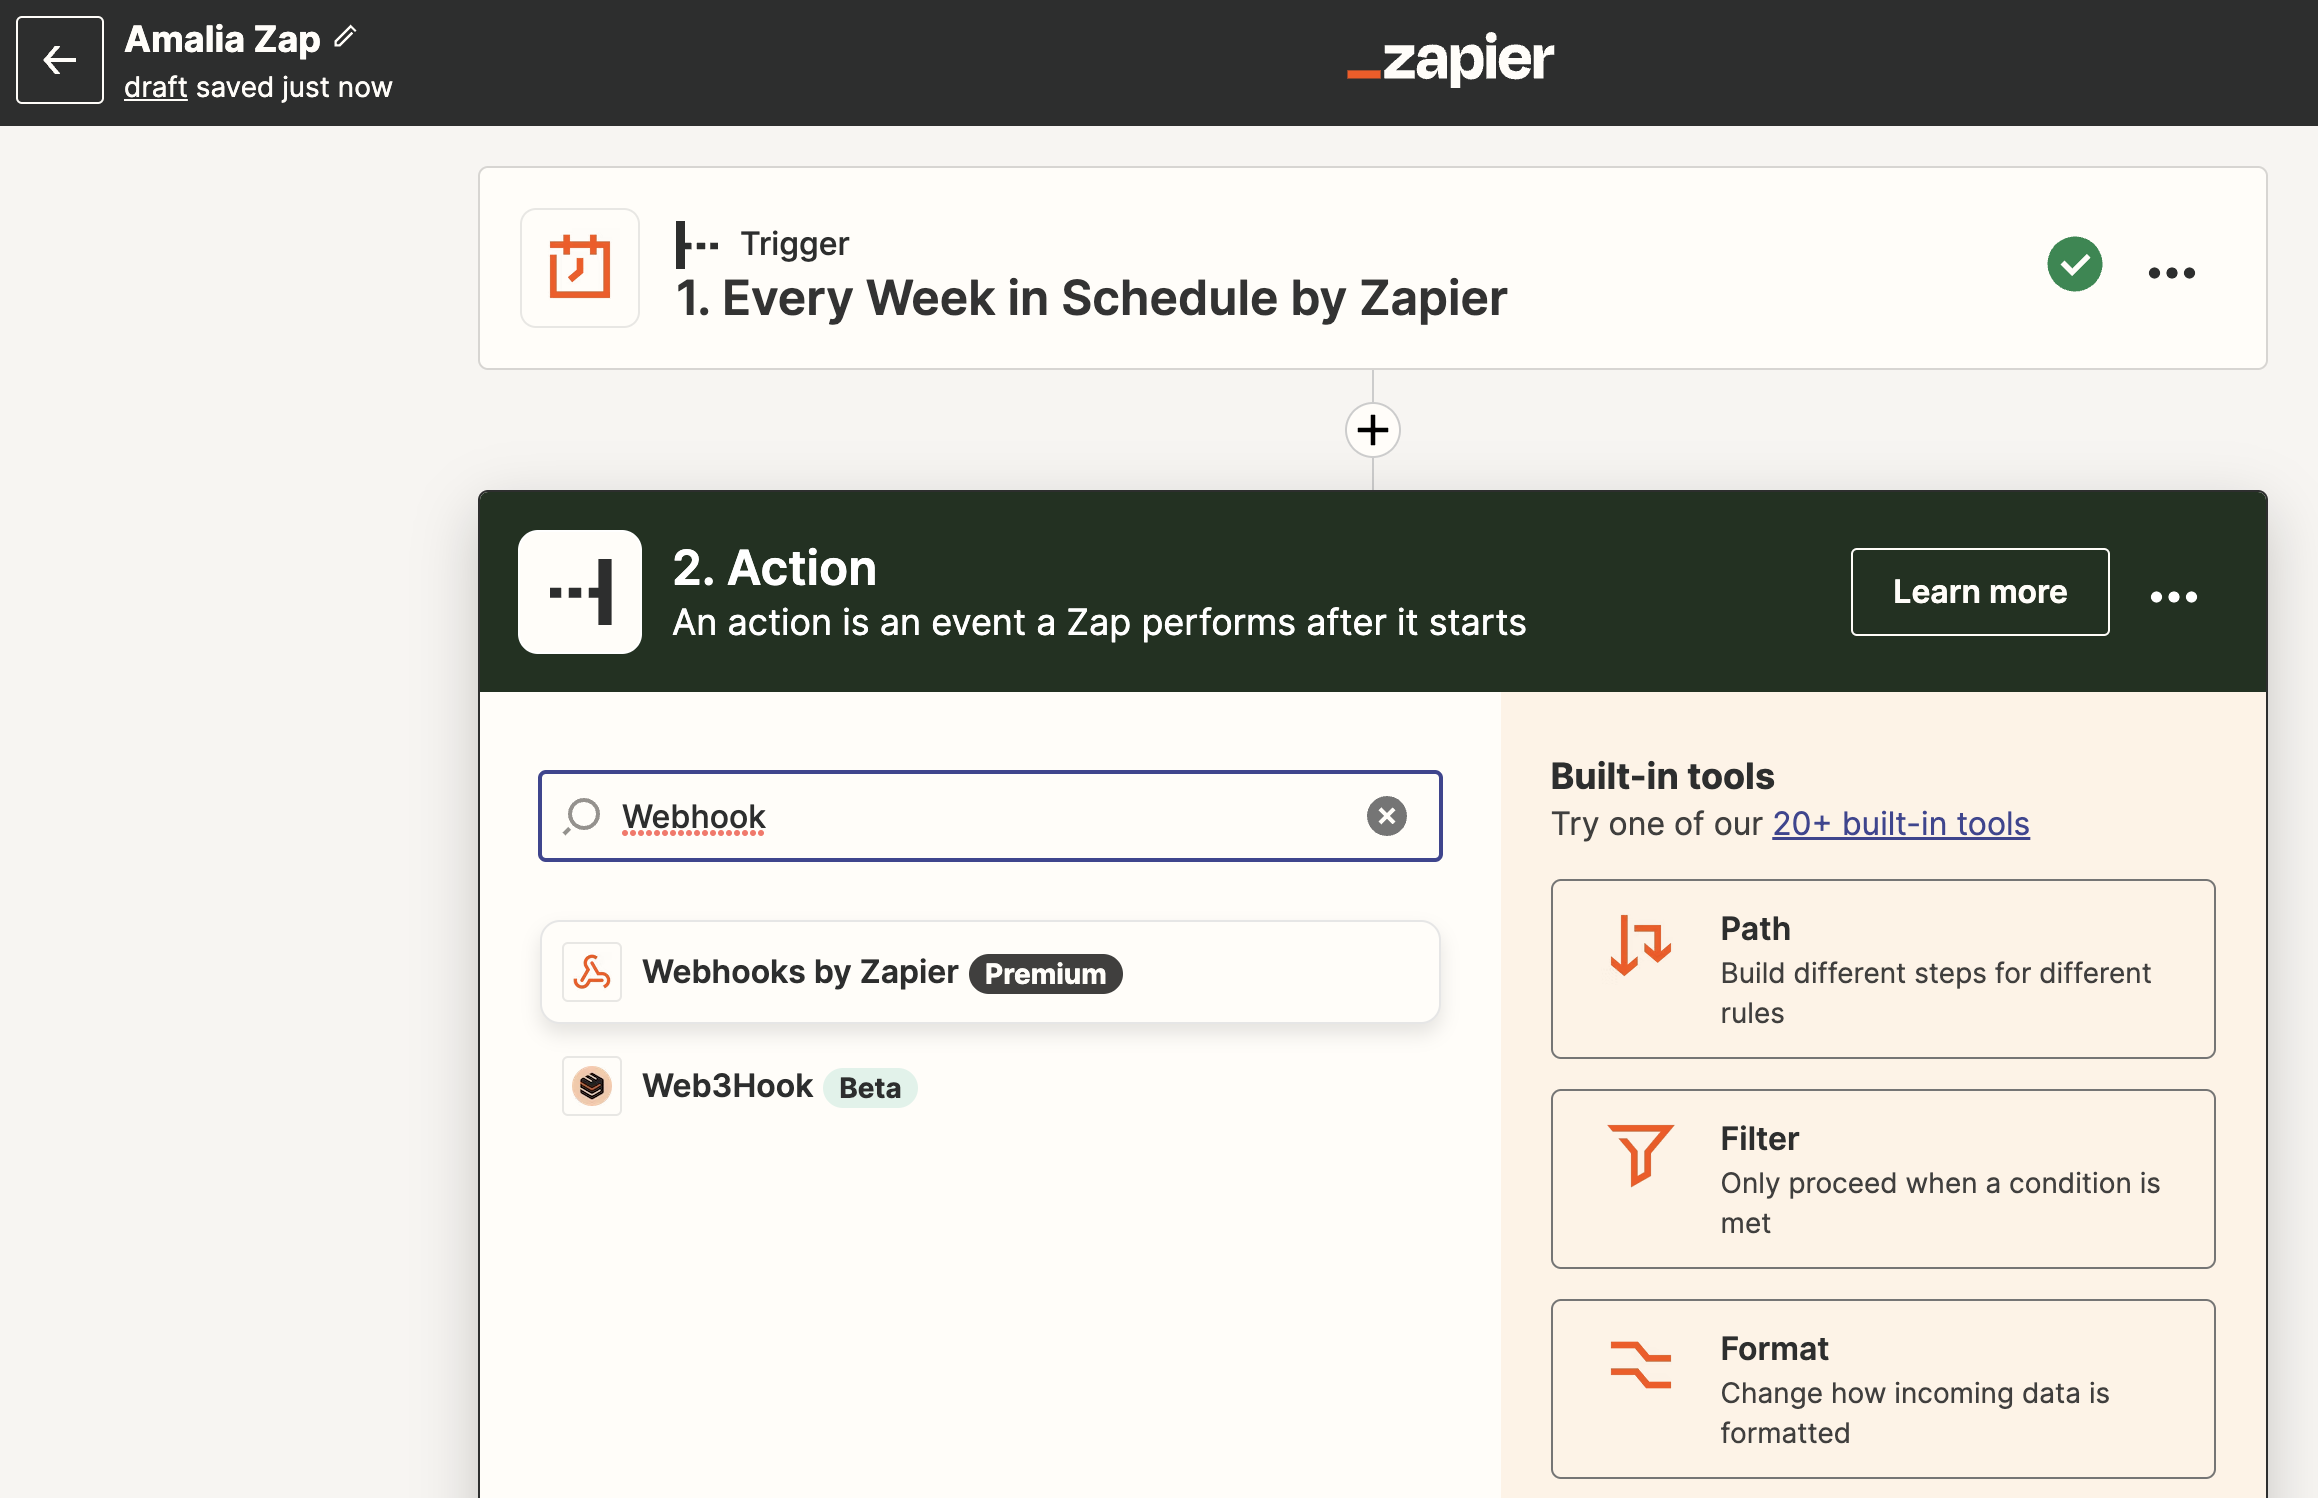
Here is where Amalia API comes in. Look for "Webhooks by Zapier" in the search bar.
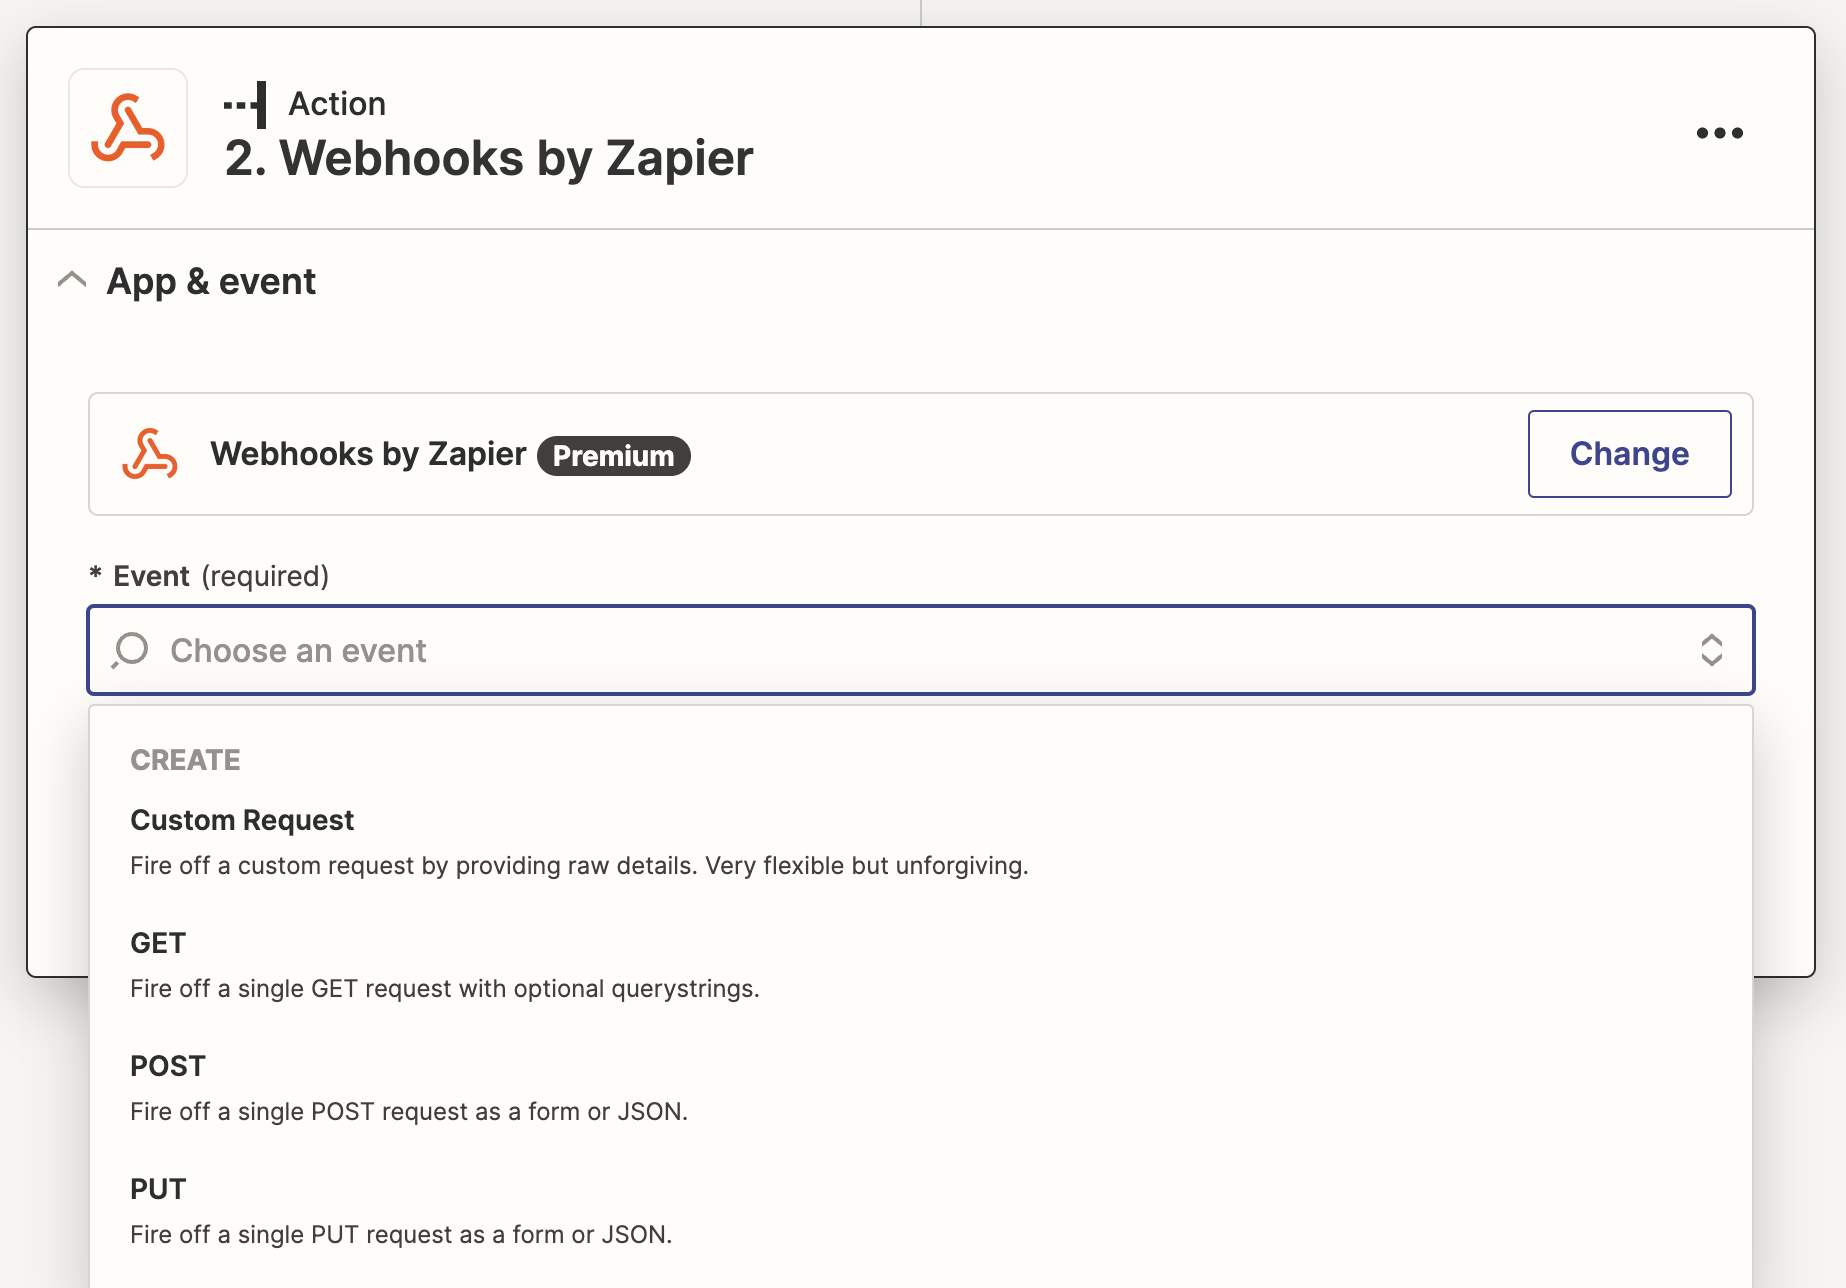
After selecting Webhooks by Zapier, choose the event type for Amalia API. Here we want to select "GET" to receive report data from Amalia API.
Now, paste your report url in the URL input box. Next, paste X-API-KEY in the first box under "Headers." Finally, paste your API key in the second box under "Headers."
Your form should now look like this:
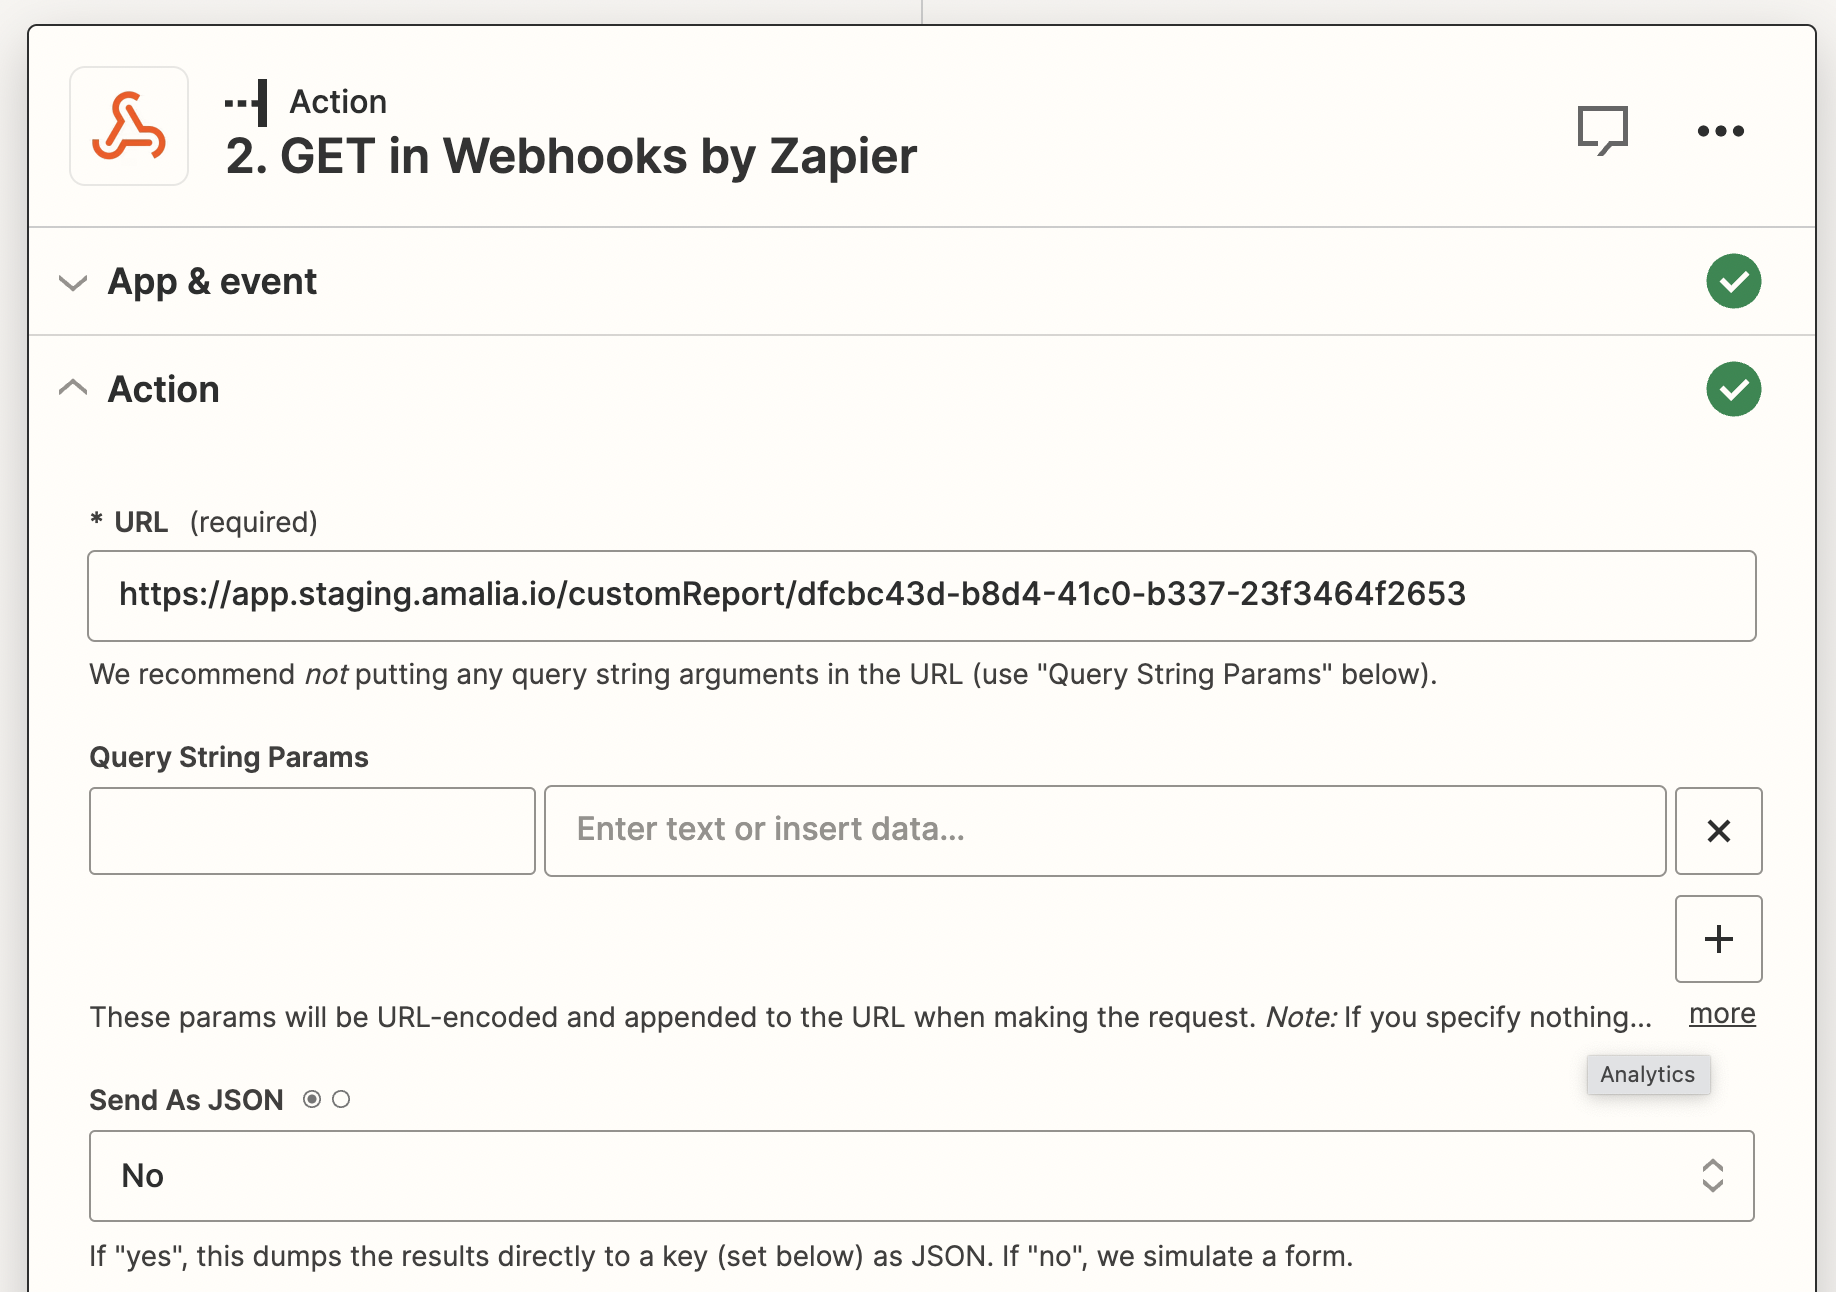
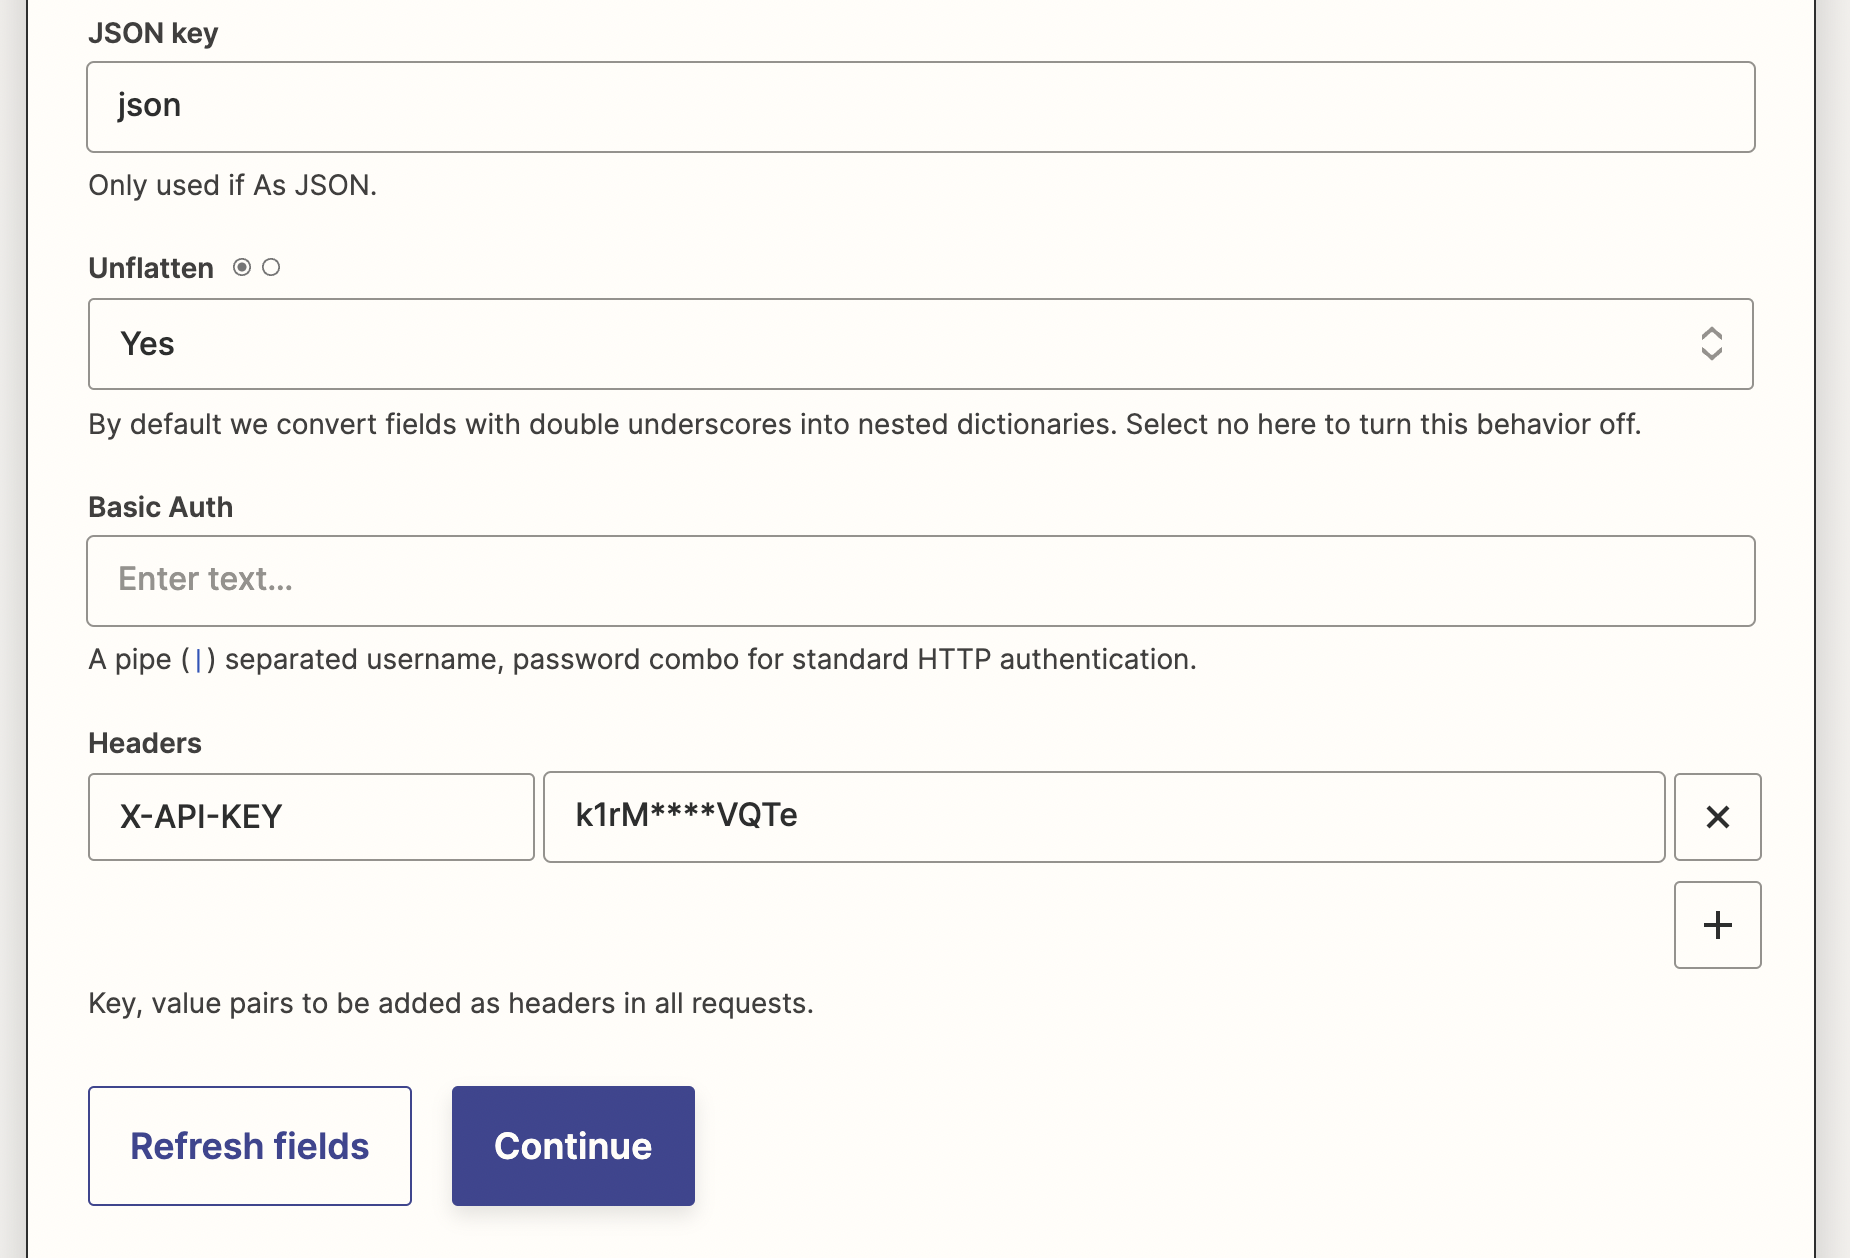
Of course, we redacted the API token so you can't see it 😉. Remember to never share your API token publicly since it allows anyone who has it to access your company's Amalia data!
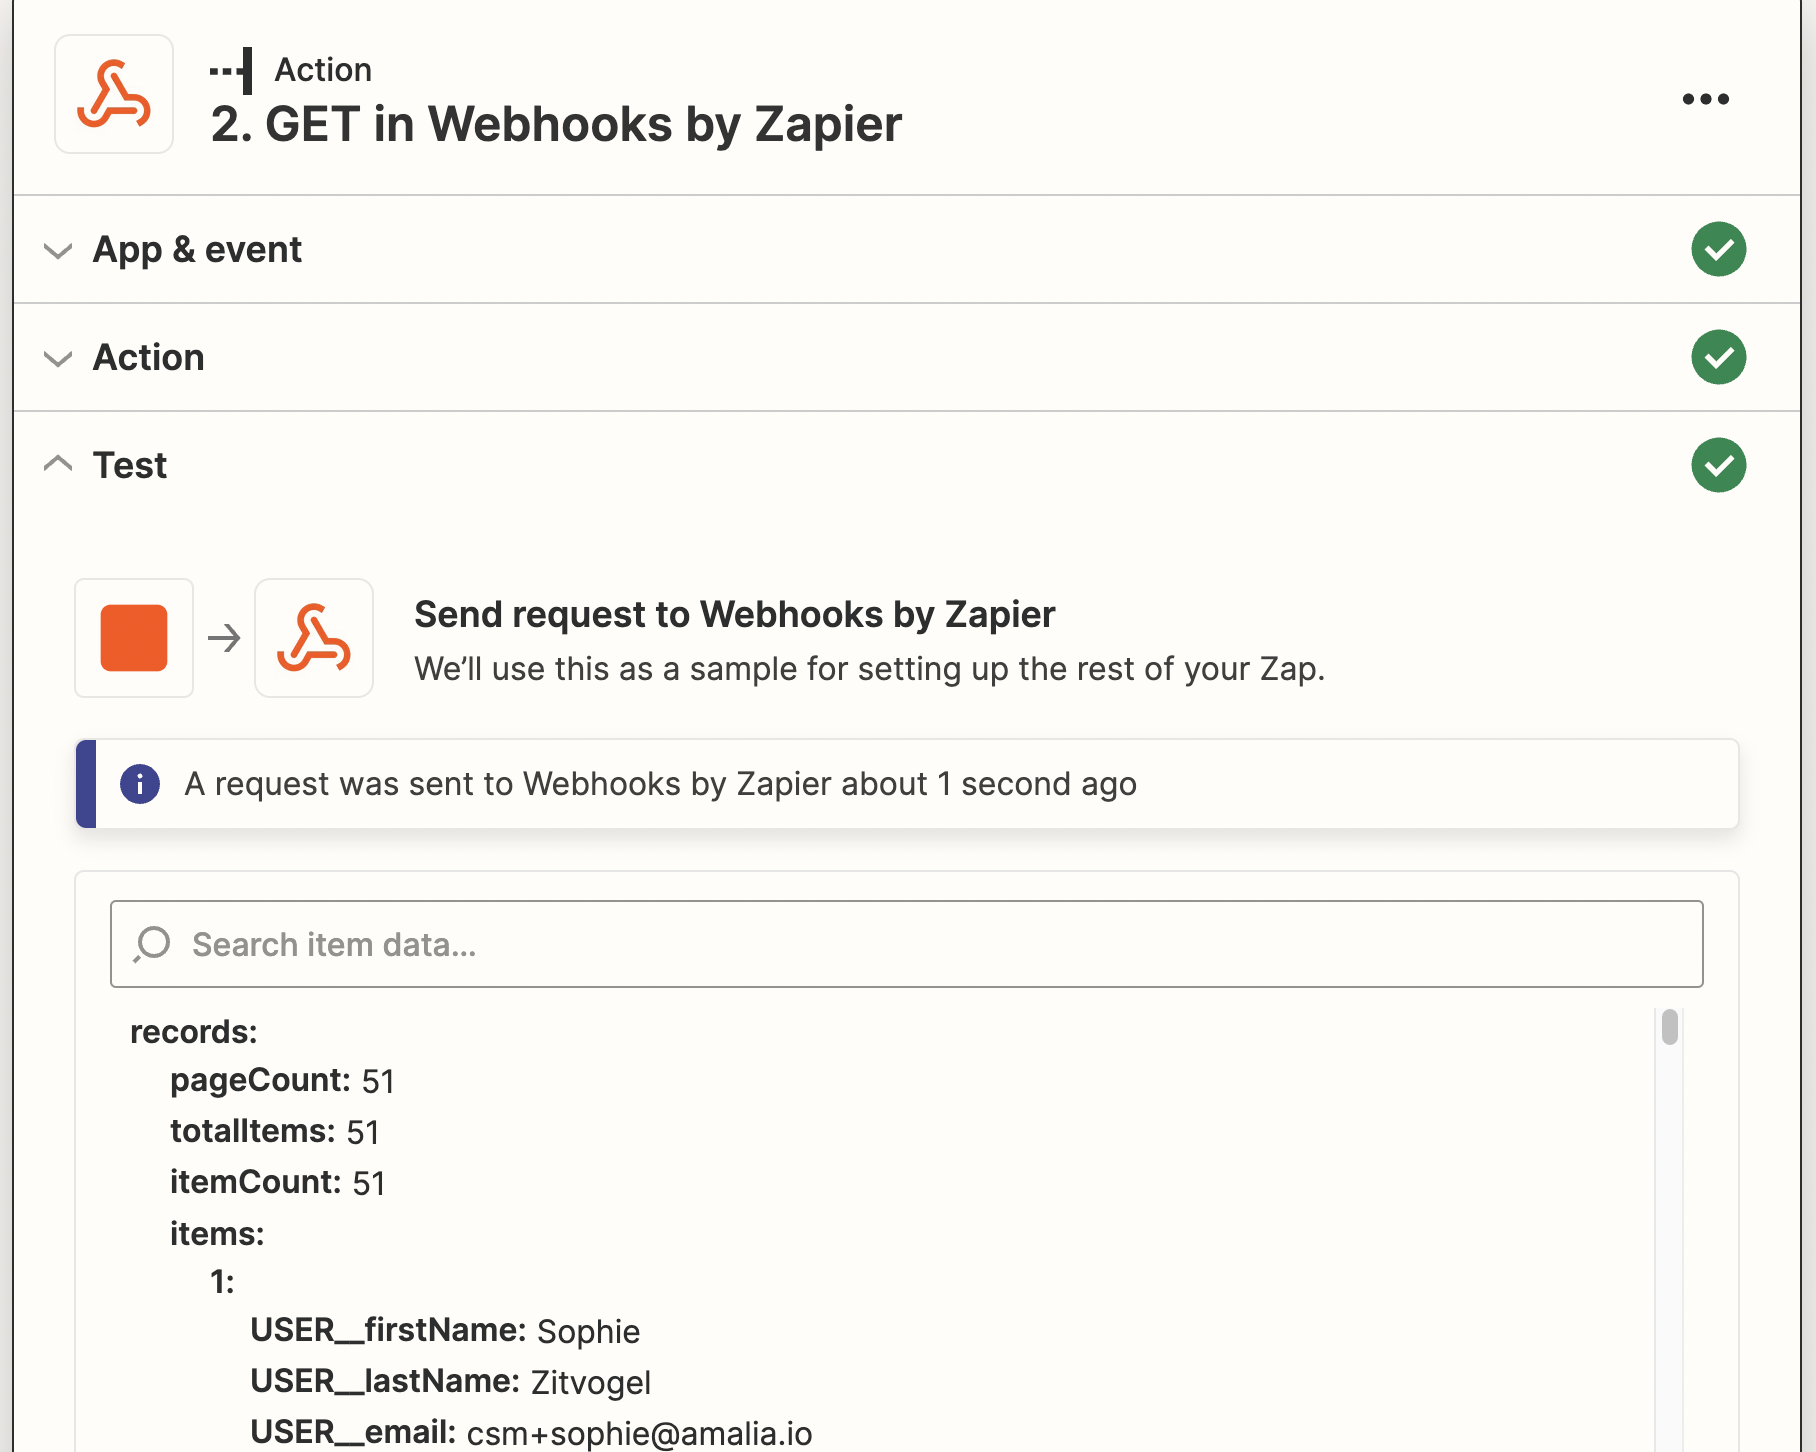
Don't forget to test the action. If the request is working, you will be able to view Amalia data on Zapier.
5. Set up an action event to store Amalia data to a destination
Let's say we want to export our Amalia data to a Google Sheet file so we can share it easily with our colleagues. We can create a new action event for our Zap.
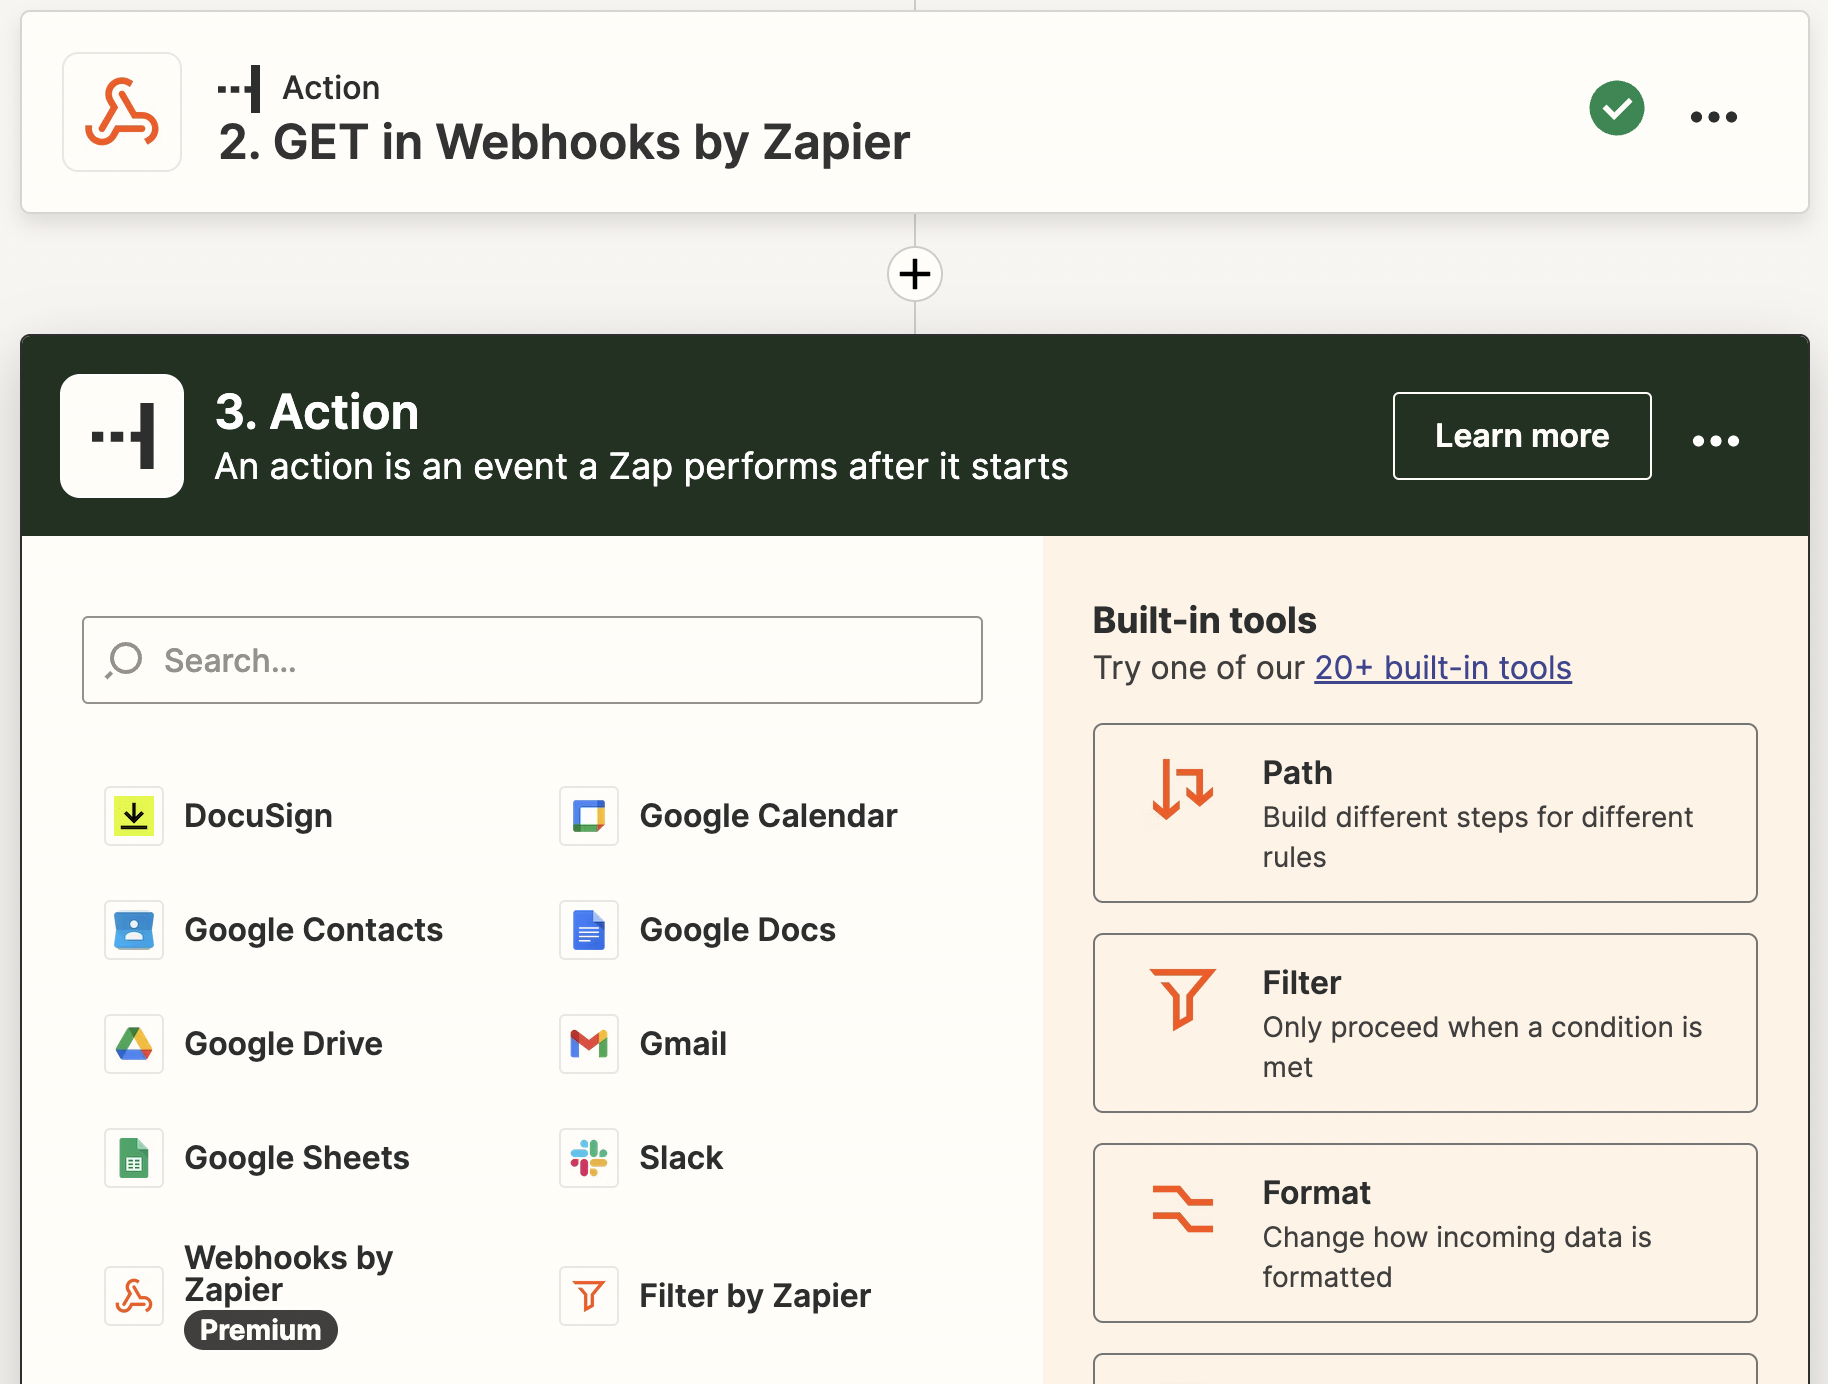
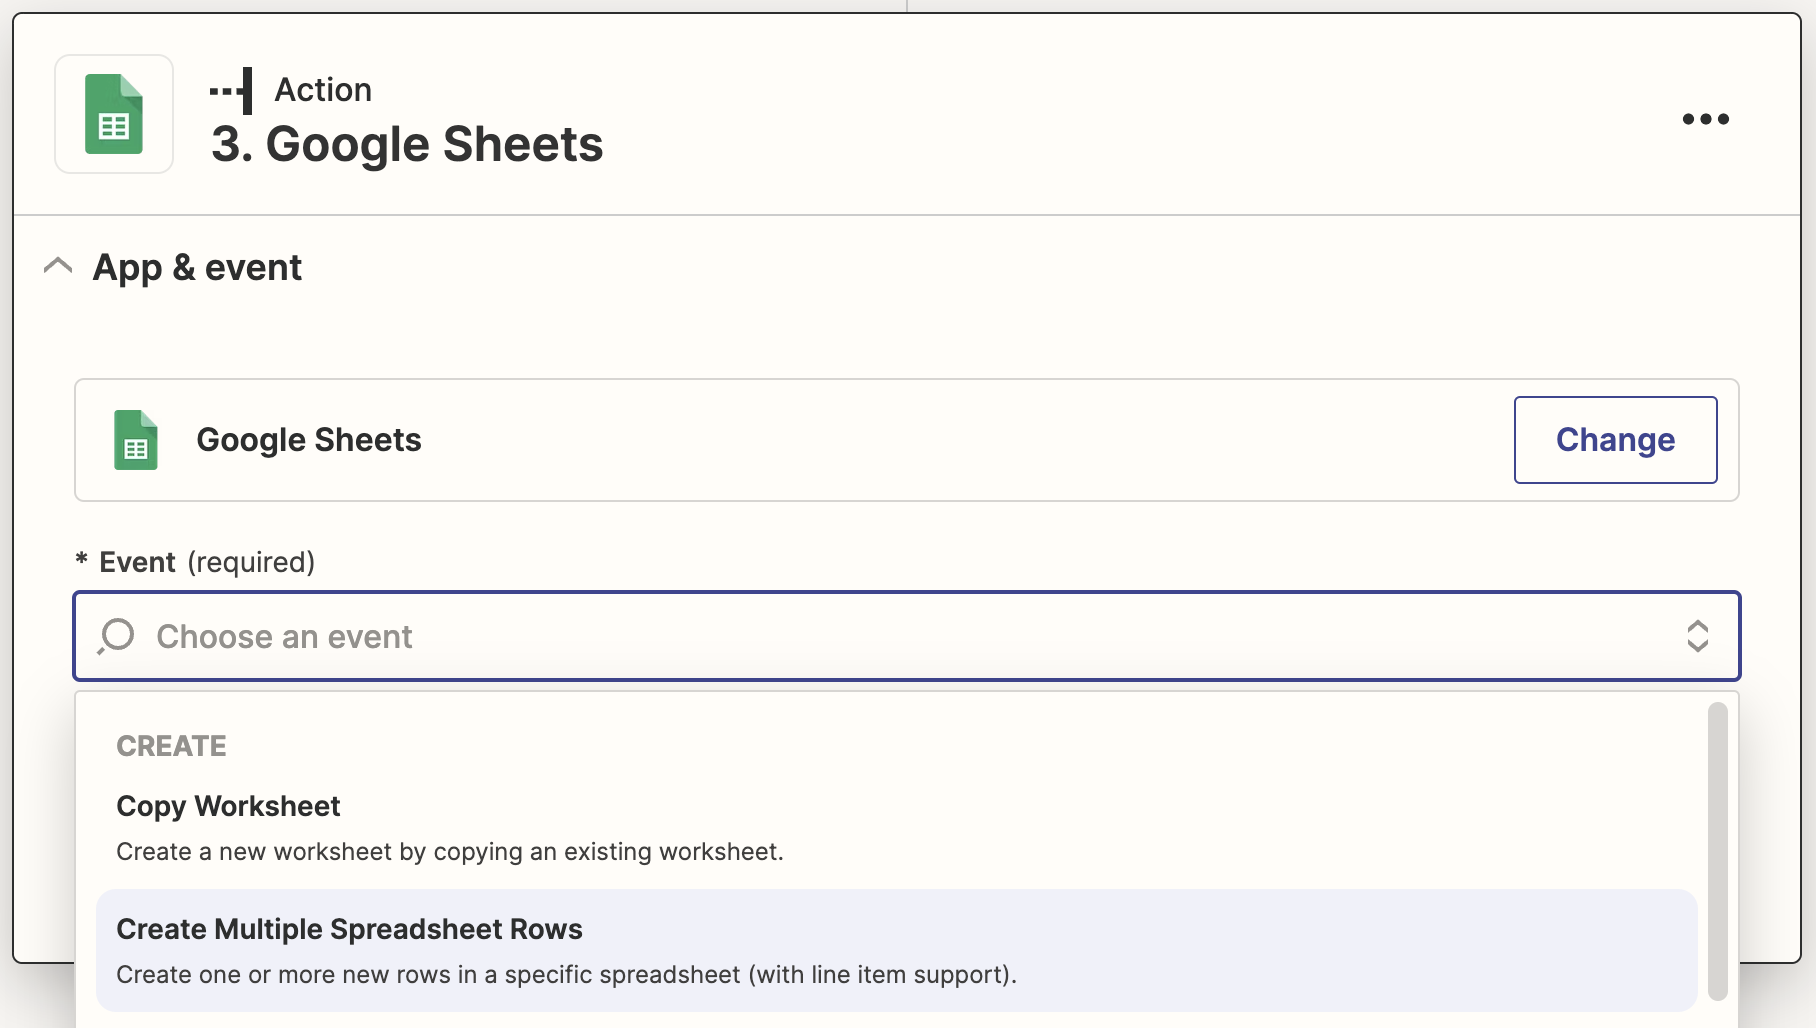
After choosing Google Sheets, we can configure the action event by choosing a specifc event we want Zapier to perform on Google Sheets. Since we want to populate a spreadsheet with each record from our Amalia report as a new row, we choose "Create Multiple Spreadsheet Rows" and continue.
The next step is to connect a Google account to Zapier so we can give Zapier the right permissions to perform actions to our Google Sheet. We will skip the step here and go straight to the action setup step.
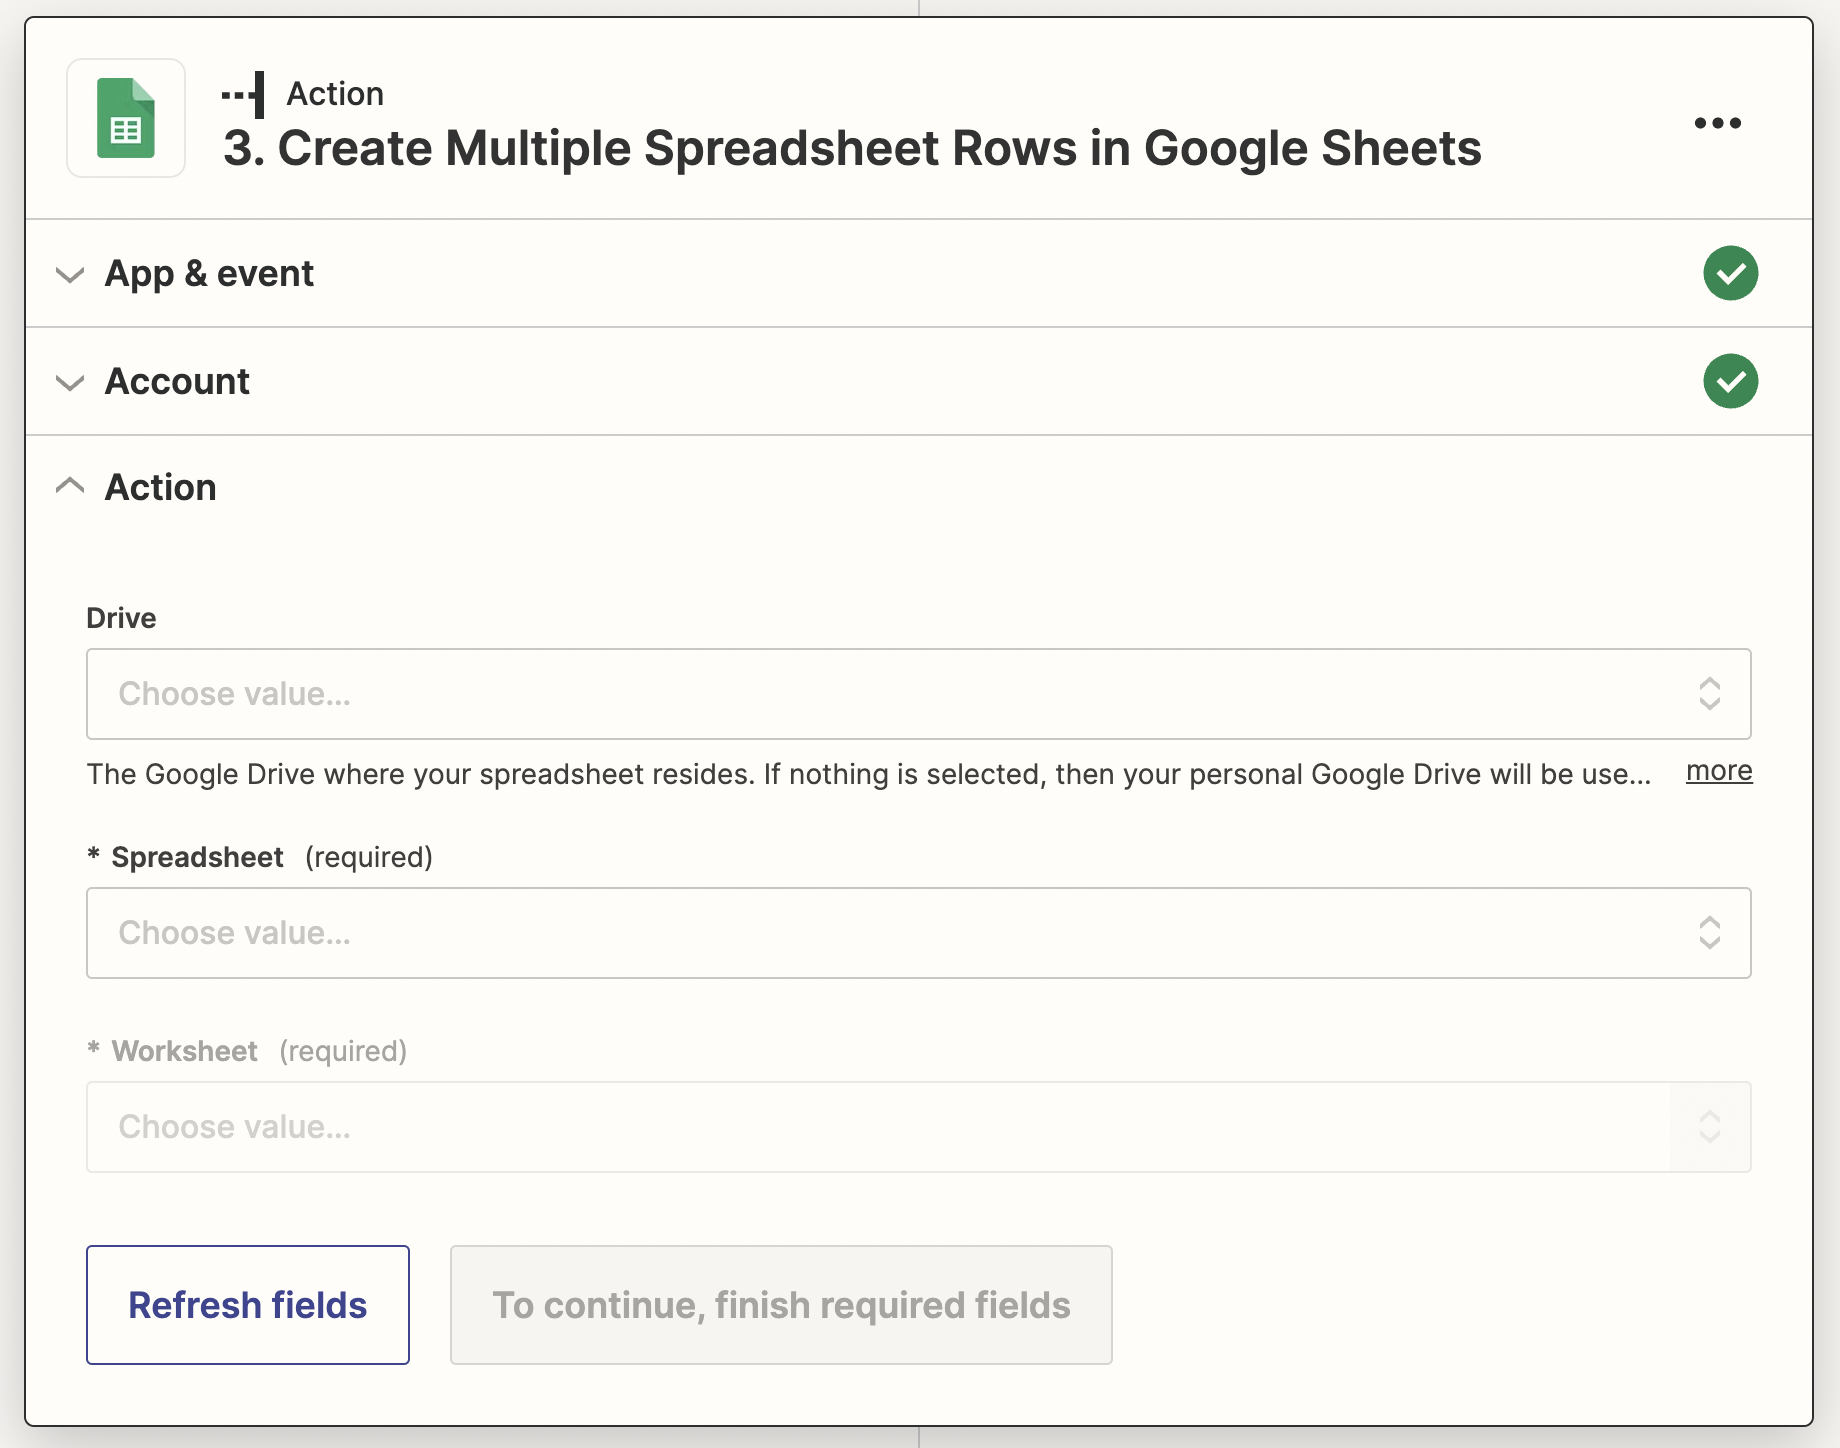
Here we need to select the drive where our destination Google Sheet is located. You can see below what the form looks like after we fill it out with the test Google Sheet we prepared.
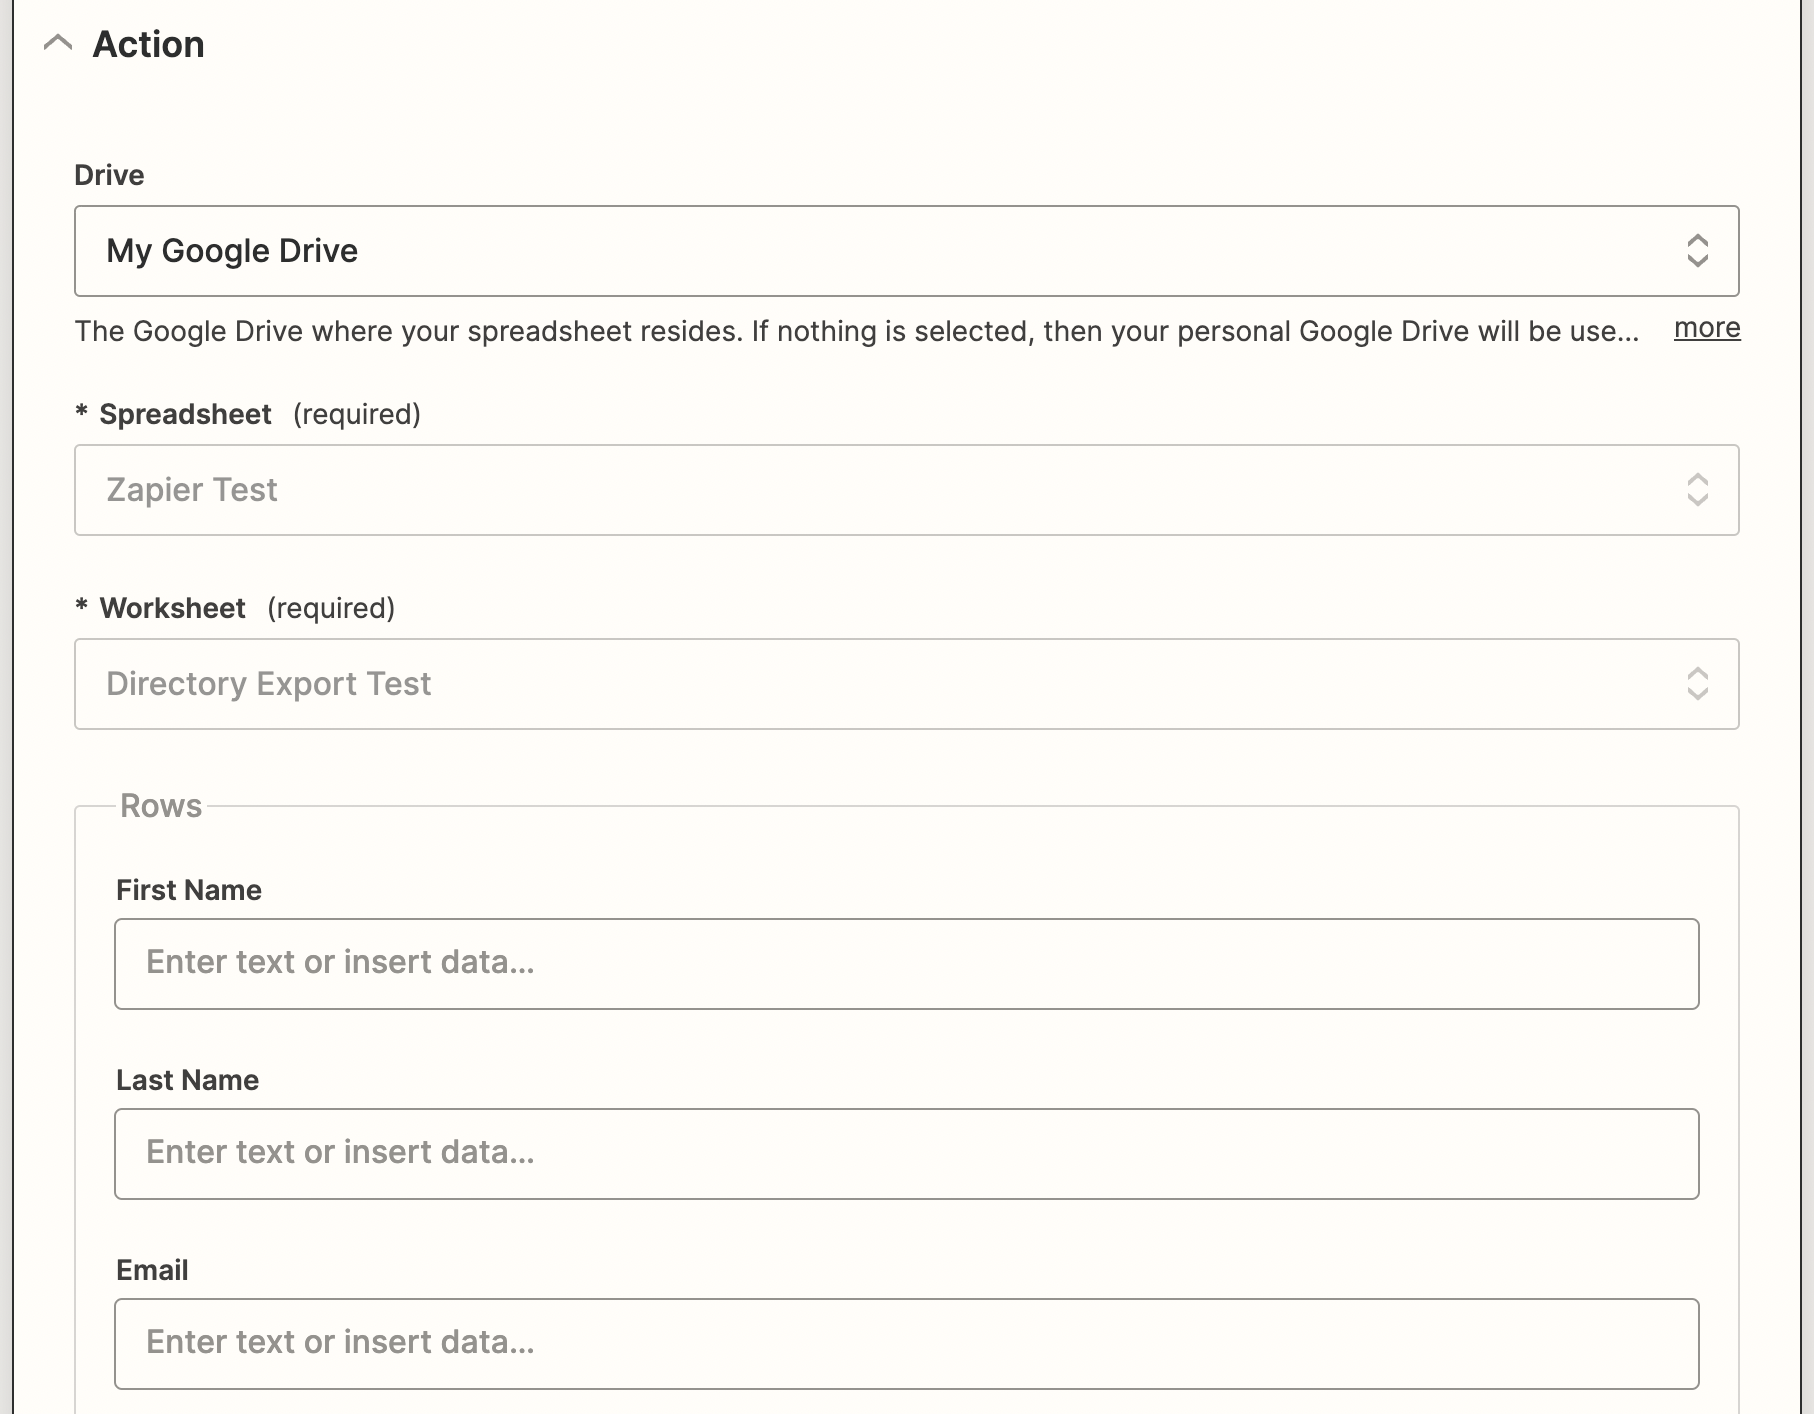
In the subsection titled "Rows," we see First Name, Last Name, Email, etc. These are headers Zapier picked up from our Google Sheet file. We prepared the file by pasting column titles from our Amalia report. Here's what the empty Google Sheet look like:

Back on Zapier, we want to match Amalia data we retrieved through the API to our spreadsheet fields in order to ensure the spreadsheet is populated correctly. Click on the input box titled "First Name" to start matching.
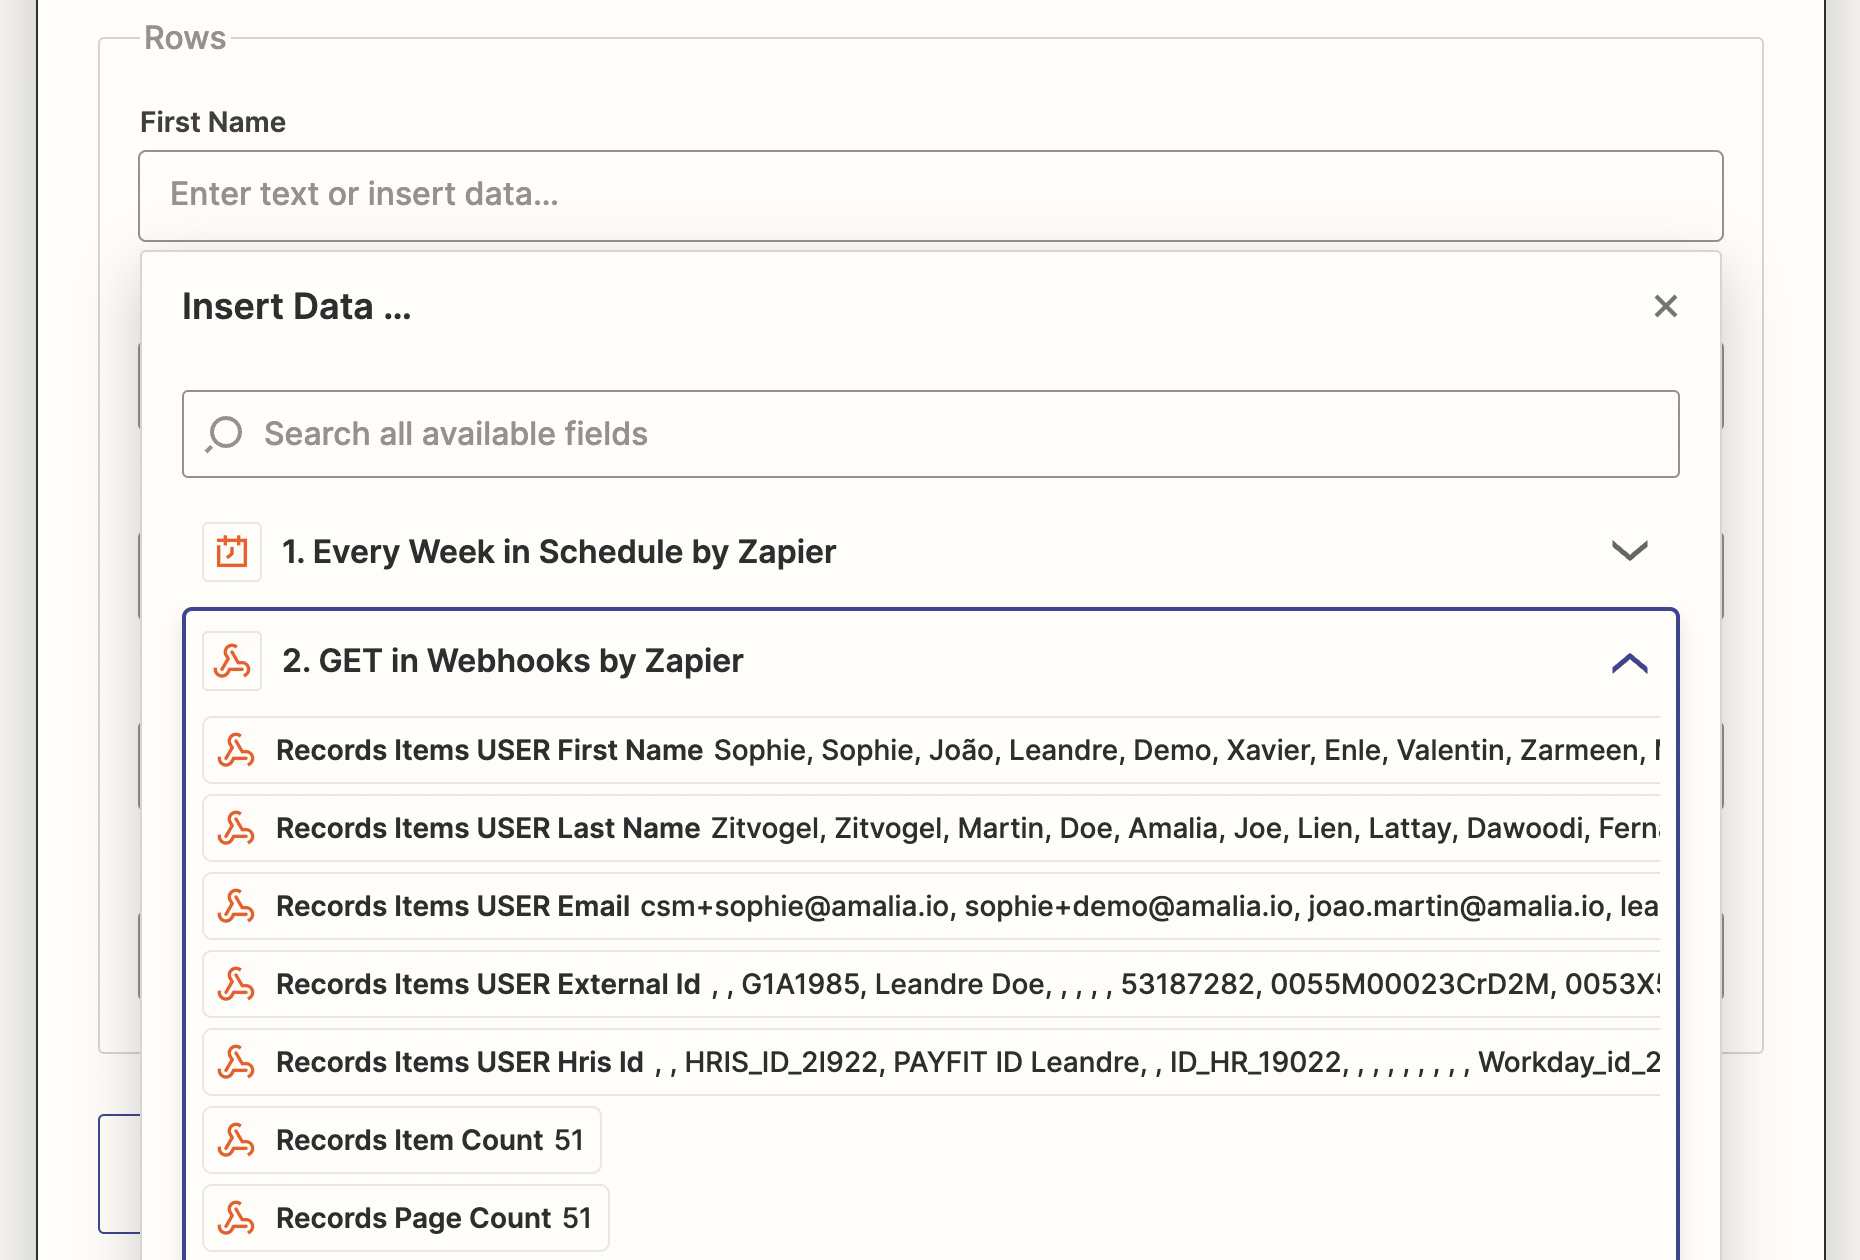
We see a list of available data from Step 2 when we called Amalia API. We choose the first option in the drop down because "Records items USER First Name" contains the right data for our First Name column. We can repeat the action to insert data for all five fields. The form now looks like this:
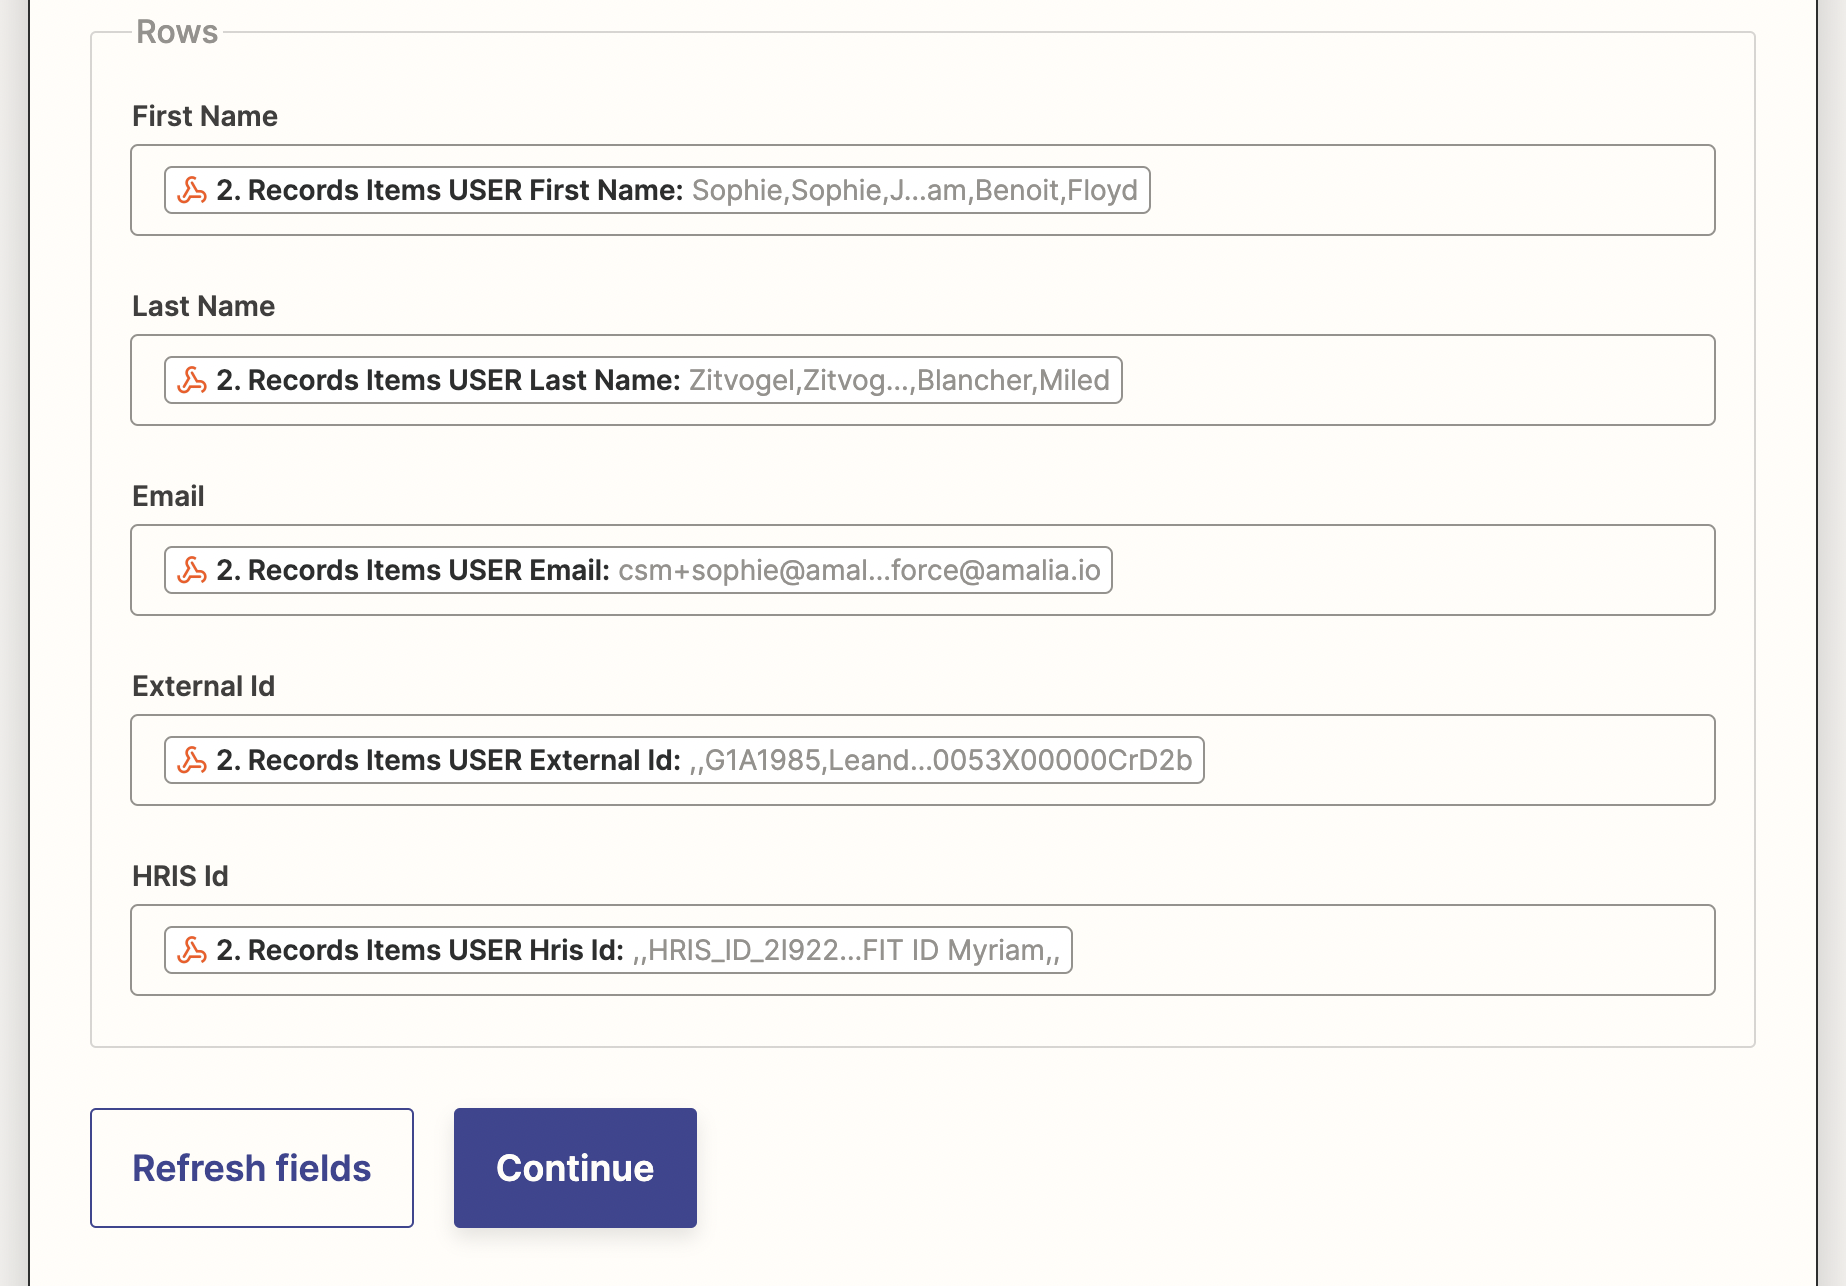
As usual we test our setup. Since Zapier doesn't throw an error, we could head back to Google Sheet to check what our updated spreadsheet looks like.
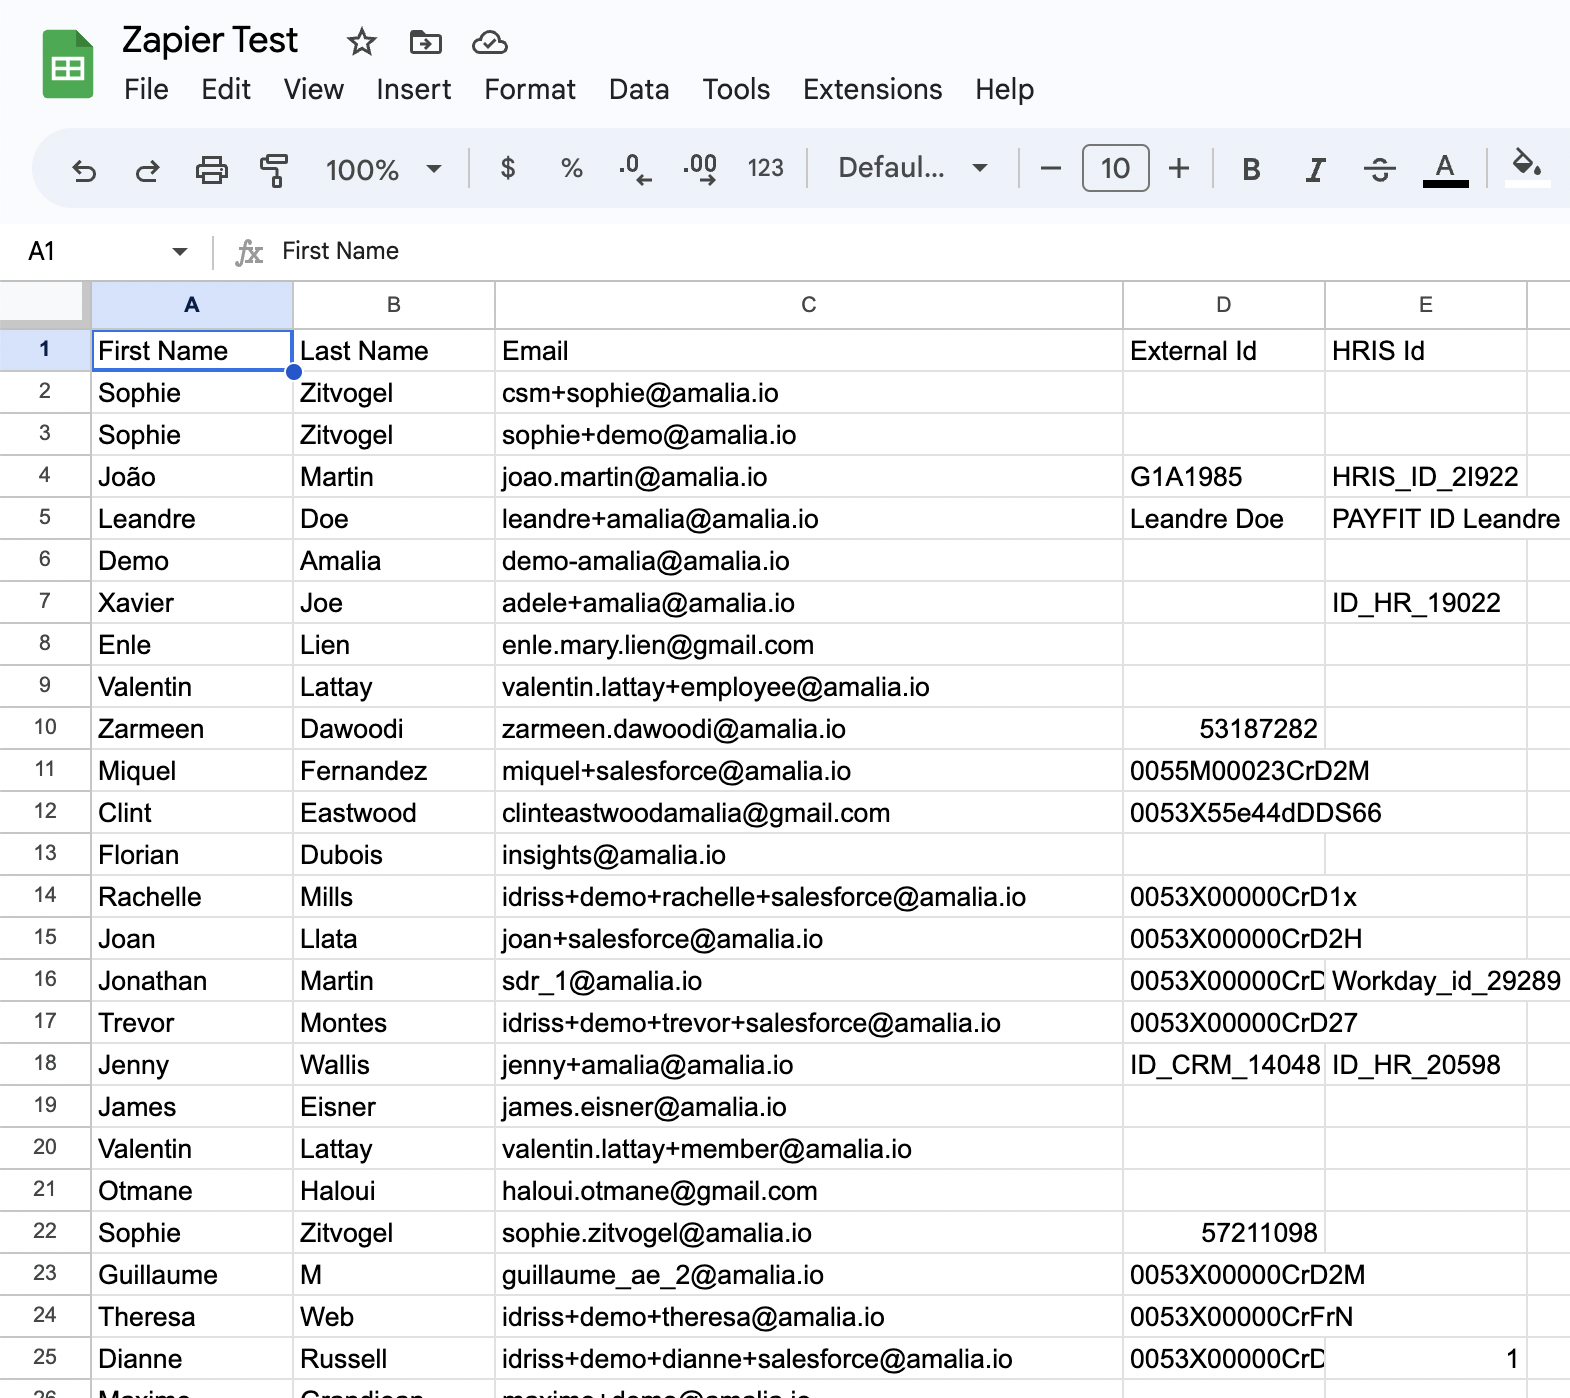
Great! We now have a spreadsheet populated automatically without a single line of code thanks to Amalia API and Zapier. You are ready to publish your zap.

